Ever walked into a room and noticed your voice sounds like you’re trapped inside a tin can? Or maybe you’ve recorded a podcast or played music only to realize the sound quality is… less than stellar. Before you start dreaming of expensive soundproofing panels or complicated gear, here’s some good news: you can get a surprisingly accurate read on your room’s acoustics with just a simple clap and your trusty smartphone.
Yes, really. No fancy microphones, no professional equipment—just you, your hands, and that pocket computer you use to scroll memes. Let’s dive into how you can test your room acoustics with minimal fuss, understand what’s going on with your sound, and maybe even fix it without breaking the bank.
Why Should You Care About Room Acoustics?
Before we get our hands (and phones) dirty, let’s talk about why room acoustics matter. Whether you’re a musician, podcaster, gamer, or just someone who enjoys blasting tunes without sounding like you’re in a cave, the way sound behaves in your room can make or break your experience.
Rooms aren’t just empty boxes; they’re full of surfaces that reflect, absorb, or scatter sound waves. These reflections can cause echoes, muddiness, or weird frequency boosts and dips. Understanding your room’s acoustic fingerprint helps you identify problem areas and take steps to improve sound clarity and quality. For instance, if you’re recording music, the last thing you want is for your vocals to be lost in a sea of echoes or for your guitar to sound thin and weak. By tweaking the acoustics, you can ensure that every note and every word is crystal clear, enhancing the overall quality of your recordings.
The Basics: Impulse Response, Flutter Echo, and Decay Time
Let’s break down some jargon in simple terms:
- Impulse Response (IR): Imagine shouting “Hello!” and recording how the sound bounces around before fading away. That recording is your impulse response—a snapshot of how your room reacts to sound. It’s like a fingerprint of your space, revealing how sound travels and interacts with various surfaces.
- Flutter Echo: This is the annoying rapid echo you sometimes hear in empty rooms, caused by sound bouncing back and forth between parallel walls. It can be particularly distracting during conversations or recordings, making it hard to discern what’s being said.
- Decay Time (Reverberation Time): This measures how long it takes for sound to fade away after the source stops. Too long? Your room sounds echoey. Too short? It might feel dead or flat. The ideal decay time varies depending on the purpose of the room—music studios may want longer decay times for warmth, while offices might prefer shorter times for clarity.
Knowing these helps you pinpoint what’s going on acoustically and guides your fixes. By analyzing your room’s impulse response, you can make informed decisions about where to place furniture, add acoustic panels, or even change the layout to optimize sound flow. Each tweak can lead to a more enjoyable auditory experience, whether you’re jamming out to your favorite tracks, recording the next big podcast episode, or simply enjoying a movie night with friends.
The Clap Test: Your DIY Acoustic Detective
Ready for the fun part? The clap test is the simplest way to get a feel for your room’s acoustics. Here’s how to do it:
- Find a quiet time: Make sure your room is as silent as possible—no fans, traffic, or barking dogs.
- Position yourself: Stand roughly in the center of the room or wherever you usually sit or record.
- Clap your hands: Give a sharp, loud clap. Think of it as your room’s “ping.”
- Listen carefully: Pay attention to the sound after the clap. Is there a long echo? A quick fade? Any weird fluttering?
- Record it: Use your phone’s voice memo app or a free sound recording app to capture the clap and its aftermath.
Try clapping in different spots—near walls, corners, or your usual seating area—to compare how the sound changes. This simple test reveals a lot about reflections and decay.
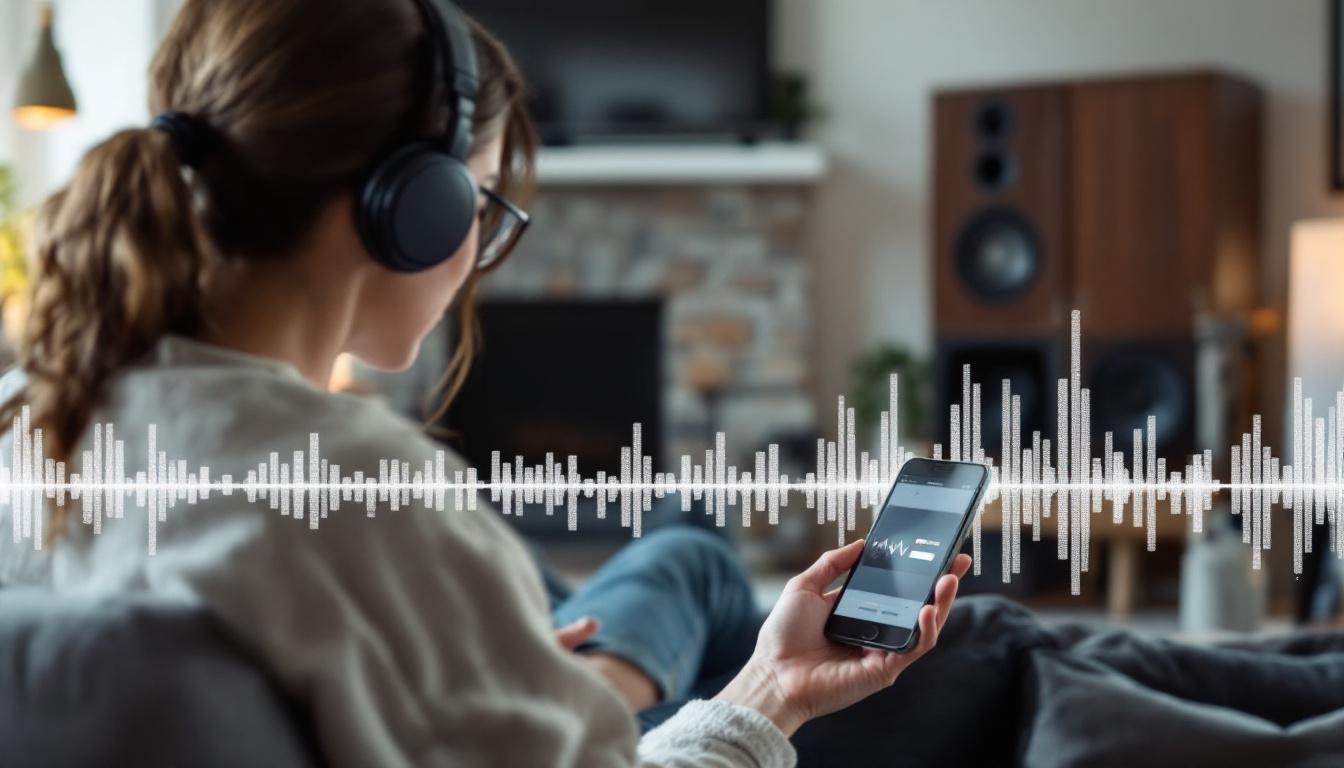
Using Your Phone to Analyze the Clap
Recording the clap is just the start. To get more detailed insights, you can use free or inexpensive apps like Room EQ Wizard or Decibel X. These tools let you visualize the sound waves, see decay times, and identify problem frequencies.
Don’t worry if you’re not an audio engineer—these apps come with tutorials and user-friendly interfaces. Just upload your clap recording or perform the clap test live through the app’s microphone, and watch the magic happen.
As you explore the results, you might notice certain frequencies that resonate more than others, indicating areas where sound waves are bouncing off surfaces in unexpected ways. This can help you pinpoint spots where sound absorption materials, like acoustic panels or carpets, could be beneficial. Understanding these nuances not only enhances your listening experience but also aids in creating a more balanced sound environment, whether you’re mixing music, podcasting, or simply enjoying your favorite tunes.
Additionally, consider the materials in your room. Hard surfaces like tile or glass can cause sound to bounce excessively, leading to unwanted echoes, while softer materials like curtains and cushions can help absorb sound. By combining the clap test with an analysis of your room’s furnishings, you can create a more harmonious acoustic space that caters to your specific needs, making your DIY acoustic detective work both practical and enjoyable.
Identifying Problem Areas in Your Room
Once you’ve got your clap recordings and a basic analysis, it’s time to interpret what you’re hearing and seeing.

Echoes and Long Decay Times
If your clap lingers for more than a second or two, your room might have too much reverberation. This is common in rooms with hard surfaces like bare walls, hardwood floors, or large windows. Excessive echo can make speech hard to understand and music sound muddy. To combat this, consider adding soft furnishings such as rugs, upholstered furniture, or acoustic panels that can help absorb sound waves and reduce the overall reverberation time. Additionally, strategically placing bookshelves filled with books can also break up sound reflections, creating a more balanced auditory environment.
Flutter Echo
Flutter echo sounds like a rapid “ping-ping-ping” after the clap. It usually happens between two parallel, reflective surfaces—think opposite walls or ceiling and floor. This can be especially distracting during recordings or calls. To mitigate flutter echo, you might want to introduce irregular shapes or textures into the room’s design. For instance, using angled wall panels or hanging fabric art can disrupt the direct path of sound waves, effectively reducing the fluttering effect. Moreover, experimenting with different furniture arrangements can also play a crucial role in minimizing this phenomenon, as it alters the distance and angle between reflective surfaces.
Dead Spots and Uneven Sound
Some areas in your room might absorb too much sound, making them feel “dead” or flat. This happens when soft furniture or heavy curtains soak up reflections. While absorption is good, too much can make your room sound lifeless. To address dead spots, consider adding reflective surfaces in strategic locations to balance the sound. Mirrors, for instance, can help bounce sound waves around the room, creating a livelier atmosphere. Additionally, experimenting with the placement of your speakers or microphones can help you find a sweet spot that enhances clarity and richness in your audio experience. Incorporating sound diffusers can also aid in scattering sound waves, ensuring a more uniform auditory experience throughout the space.
Quick Fixes That Don’t Break the Bank
Now that you know what’s wrong, here are some DIY solutions that can make a big difference without costing a fortune.
Soft Furnishings Are Your Friends
Throw in some rugs, cushions, or curtains to absorb excess reflections. Even a thick blanket draped over a reflective surface can tame echoes.
Break Up Parallel Surfaces
To reduce flutter echo, try placing bookshelves, plants, or irregularly shaped objects along walls. These scatter sound waves and prevent that annoying ping-ping effect.
DIY Acoustic Panels
If you’re feeling crafty, you can make your own acoustic panels using rock wool or foam wrapped in fabric. Hang them on walls or ceilings where reflections are strongest.
Furniture Placement Matters
Sometimes, simply rearranging your furniture can help. Avoid placing your desk or recording setup directly facing a blank wall. Instead, position yourself so reflections are minimized.
Your Room, Your Sound
Testing your room acoustics with a simple clap and your phone is a surprisingly powerful way to understand how sound behaves in your space. It’s quick, free, and gives you actionable insights to improve your listening or recording environment.

Remember, perfect acoustics aren’t about eliminating all sound reflections—they’re about balance. With a little experimentation and some smart tweaks, you can turn that tin-can voice into something much more pleasant.
So go ahead, clap your hands, grab your phone, and start your journey to better sound today!