Every drummer knows the struggle: you’re ready to unleash your inner beast on the kit, but your neighbours start banging on the walls, your flatmate gives you the death stare, and your parents suddenly develop a newfound appreciation for silence. Sound familiar? If you’re a home drummer, an aspiring musician, or running a small studio, this article is your new best mate. We’ll get into practical soundproofing and acoustic solutions that keep your practice sessions fun without killing the vibe.
Why Drums Are So Hard to Soundproof
Drums are notoriously tricky to soundproof because they produce two main types of noise: impact noise and airborne noise. The kick drum and snare are the worst offenders here. When your beater hits the kick drum skin or your sticks smack the snare, the vibrations travel through the floor and walls, making it feel like a mini earthquake to everyone else.
Many drummers think slapping some foam on the walls will do the trick, but this is a common myth. Egg cartons, blankets, and mattresses might absorb some high frequencies, but they do very little to stop the low-end thump that causes the real disturbance. Soundproofing isn’t just about absorption; it’s about stopping the sound from escaping in the first place.
To effectively soundproof a drumming space, one must consider the construction of the room itself. Adding mass to the walls, such as using soundproof drywall or additional layers of standard drywall, can significantly reduce sound transmission. Furthermore, sealing any gaps or cracks around windows and doors is crucial, as even the smallest openings can allow sound to leak out. Specialized soundproofing materials, like mass-loaded vinyl, can also be employed to enhance the sound isolation of the room, providing a more effective barrier against those low-frequency vibrations.
Another important factor to consider is the flooring. Drums can create substantial vibrations that travel through the floor, so using a floating floor system can help mitigate this issue. This involves installing a layer of sound-absorbing material beneath the flooring to create a buffer between the drum kit and the structural elements of the building. Additionally, using drum mats can further minimize the impact noise generated by the drums, providing a more controlled environment for practice or recording. All these elements combined can lead to a more successful soundproofing solution, allowing drummers to unleash their creativity without disturbing the peace of their neighbors.
Step One – Taming the Room (Before Touching the Kit)
Before you start fiddling with your drums, it’s essential to tame the room itself. Sound leaks are sneaky little things that escape through doors, windows, and even the floor. Sealing these leaks with weatherstripping or draft excluders can make a noticeable difference. Not only does this help contain the sound within your practice space, but it also minimizes disturbances to your neighbors, allowing you to play with more freedom and less anxiety about noise complaints.
Room isolation basics involve adding mass and decoupling. Adding mass means making walls and floors heavier so they don’t vibrate as much. Decoupling involves breaking the path vibrations take, such as using floating floors or double walls. While these might sound like big projects, even small tweaks like using heavy curtains or sealing gaps can help. Additionally, consider the placement of furniture; bookshelves filled with books can act as natural sound barriers, absorbing and diffusing sound waves that might otherwise bounce around the room.
When it comes to where your drums sit, carpet is your friend. It helps absorb some of the vibrations, but if you want to take it up a notch, consider a drum platform or riser. These can isolate your kit from the floor, reducing the amount of vibration that travels through your house. Furthermore, the choice of carpet can also play a significant role; thicker, plush carpets will provide better sound absorption than thinner options. If you’re feeling adventurous, you might even explore acoustic panels or foam tiles on the walls to further enhance your sound environment, creating a more controlled acoustic space that will benefit your practice and recordings alike.
Drum-Friendly Soundproofing Techniques
Building a DIY drum riser is a game-changer for reducing noise. One clever trick is to use tennis balls or isolation pads under the riser to absorb vibrations. It’s a simple, cost-effective way to keep the floor from turning into a drum amplifier. Additionally, consider constructing the riser with multiple layers of plywood, separated by rubber or foam material. This layered approach can further dampen vibrations, providing a more stable and soundproof platform for your drumming sessions. The result is a significant reduction in the sound that travels through the floor, making it a win-win for both you and your neighbors.

Heavy rugs are another underrated tool. Place them under your kit and near the room’s corners where bass frequencies tend to build up. Bass traps in these corners can soak up low-end rumble, making your kit sound cleaner and less intrusive to neighbours. Moreover, using thick curtains on windows can also help in minimizing sound leakage. Opt for materials specifically designed for sound absorption, as they can significantly reduce the amount of sound that escapes to the outside world. This not only protects your neighbors from the thumping beats but also enhances your overall practice experience by creating a more controlled acoustic environment.
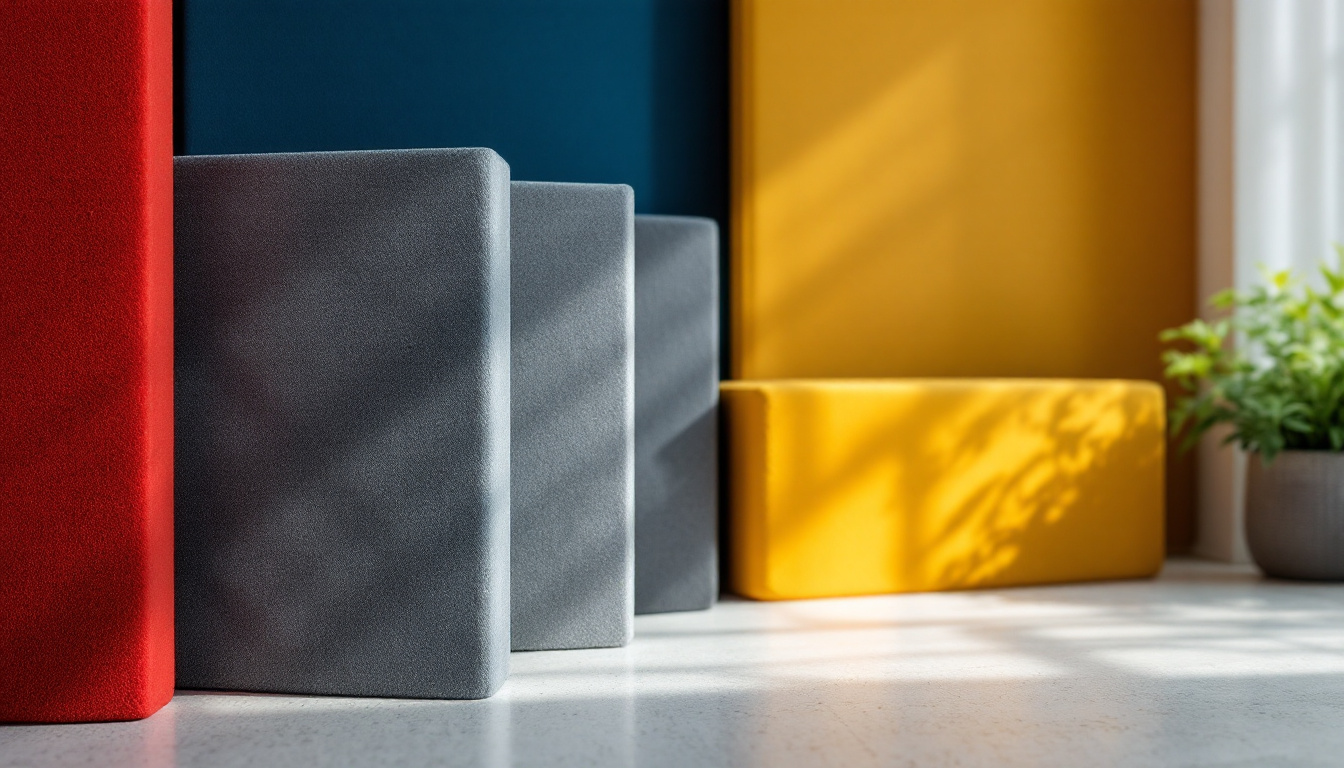
Absorption panels are more than just fancy décor. They control reflections inside the room, which improves your sound and reduces the amount of noise that escapes. Remember, controlling reflections inside your room is different from stopping sound transmission outside it, so a combination of both is ideal. You can enhance this setup by strategically placing additional panels on the walls and ceiling, particularly at the first reflection points, where sound waves bounce off surfaces and create unwanted echoes. This meticulous arrangement will not only help in achieving a more professional sound but will also contribute to a more enjoyable and immersive drumming experience.
Gear Hacks for Quieter Practice
If you’re serious about quiet drumming at home, gear choices matter. Mesh drum heads and low-volume cymbals are designed to reduce volume without sacrificing feel. Mesh heads give you that classic rebound but with much less noise, while low-volume cymbals produce a softer crash and ride sound.

Electronic drum kits are another popular option. They let you practice with headphones, keeping your noise level virtually silent. For those who want the best of both worlds, hybrid setups combine acoustic shells with triggers, allowing you to blend natural feel with electronic control.
The Human Element – Practicing Smart
Even with the best soundproofing, timing your practice sessions can save a lot of headaches. Try to drum during hours when your neighbours are less likely to be disturbed—mid-morning or early evening, for example. Avoid late-night sessions unless you want to become the neighbourhood’s least favourite person.
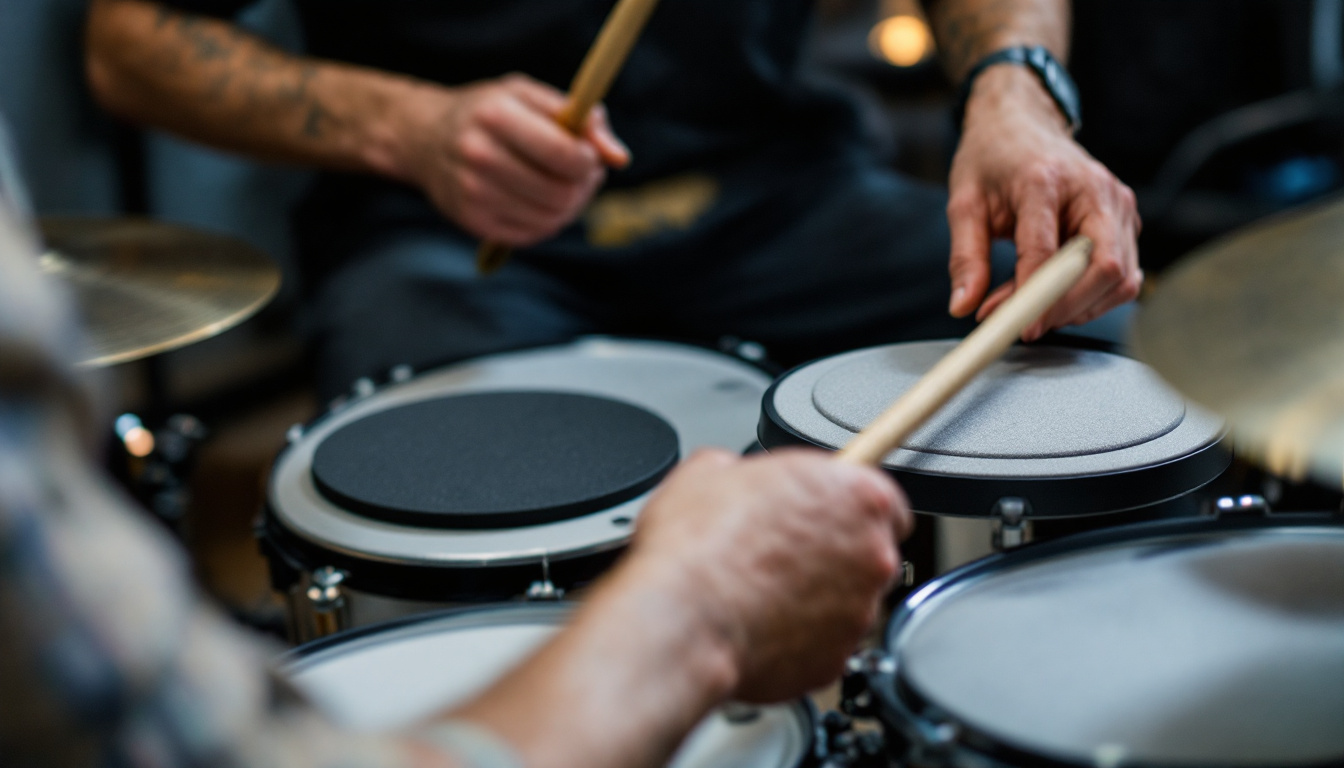
Using dynamic sticks, rods, or brushes can also help reduce volume. These tools change the attack and tone of your drums, making your playing less aggressive but still musical. Silent rehearsal techniques, like practice pads or electronic triggers, allow you to keep the groove alive without rattling the walls.
Real Talk – How Much Soundproofing Really Costs
Soundproofing can be as cheap or as expensive as you want it to be. For under £100, you can seal gaps, add rugs, and build a simple DIY riser. These solutions work well for bedroom drummers who want to keep noise down without breaking the bank.
On the other hand, dedicated room builds with professional isolation can easily exceed £1,000. These are more suited to small studio owners or drummers who need a serious soundproof setup. If your budget is tight and noise is a big issue, renting a rehearsal space might be a more practical option.
Keeping the Groove Alive
One of the biggest challenges in soundproofing is balancing feel with volume reduction. Over-damping your drums can kill the resonance and make your kit feel lifeless. Drums need to breathe and resonate to sound and feel right, so avoid smothering them with too much foam or muffling.
Staying motivated when practising quietly can be tough, but it’s all about finding the right balance. Experiment with different solutions, layer them up, and don’t be afraid to tweak your setup until it feels right. Remember, the goal is to keep the groove alive without turning your home into a no-drum zone.
Experiment with sealing your room, isolating your kit, and choosing the right gear. Layer your solutions and, most importantly, don’t kill the groove.
Quick FAQ
Do drum shields actually work?
Drum shields help control sound reflections and can reduce volume somewhat, but they don’t stop low-frequency vibrations from travelling through walls and floors. They’re best used alongside other soundproofing methods.

Can you soundproof with carpets?
Carpets absorb some sound and reduce vibrations, especially higher frequencies. While they won’t fully soundproof a room, they’re a simple and effective part of a layered approach.
What’s the cheapest way to quiet a drum kit?
Start with sealing leaks, adding rugs, and using mesh heads or practice pads. Building a DIY riser with isolation pads or tennis balls is also cost-effective and can make a big difference.
Which is better: electronic or acoustic with mufflers?
It depends on your needs. Electronic kits offer near-silent practice and versatility, while acoustic kits with mufflers retain natural feel and sound but are louder. Hybrid setups provide a middle ground.