Welcome to the world of home studios, where dreams of Grammy awards and viral hits collide with the reality of awkward acoustics and questionable mic placements. Whether you’re a seasoned pro or just starting out, the acoustics of your home studio can make or break your sound. So, grab your favorite beverage, kick back, and let’s dive into some of the most pressing questions about home studio acoustics!
What Is Acoustic Treatment and Why Do I Need It?
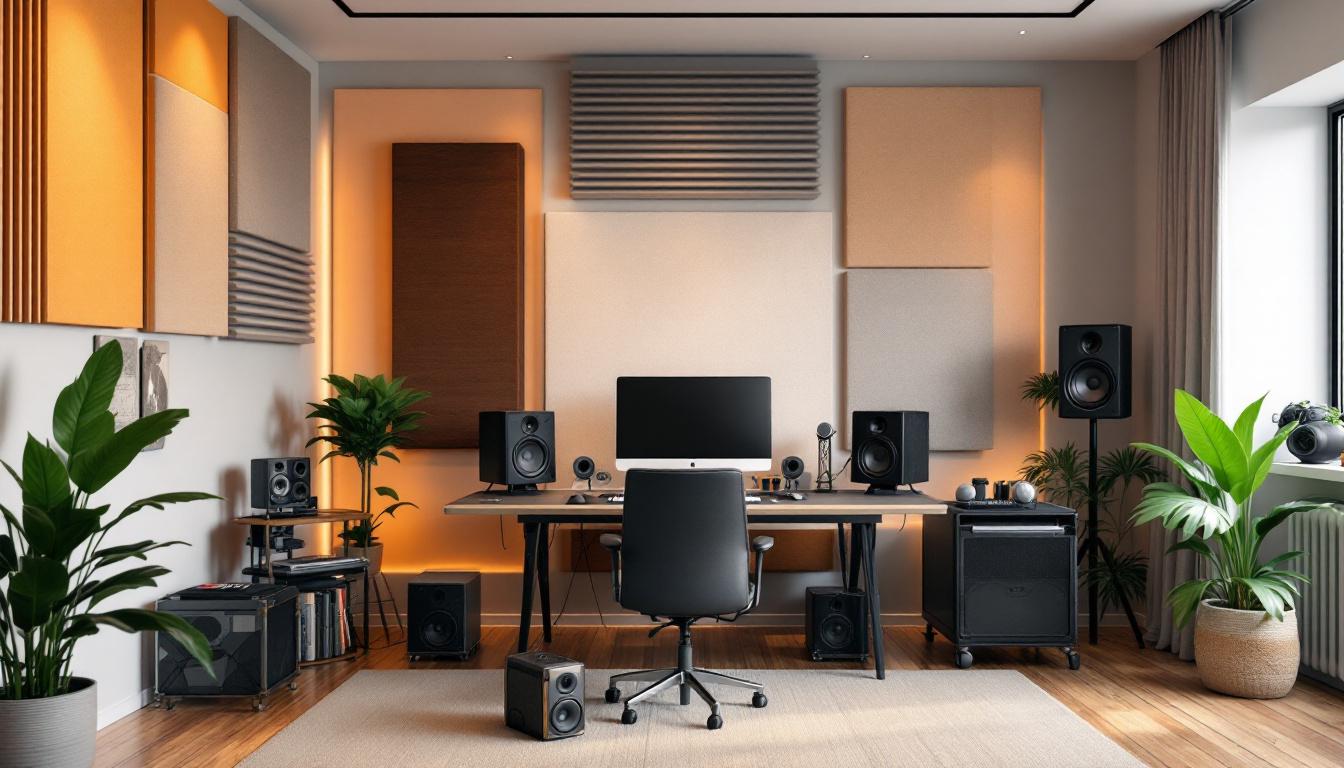
Acoustic treatment is the process of controlling sound within a space. Think of it as giving your home studio a cozy blanket to snuggle up in – one that keeps the unwanted noise out and the good sound in. Without proper treatment, your recordings might sound like they were made in a tin can, which, let’s be honest, isn’t the vibe you’re going for. The clarity and quality of your audio can significantly impact the listener’s experience, whether you’re producing music, podcasting, or recording voice-overs. A well-treated room can elevate your work from amateur to professional, making it essential for anyone serious about their audio production.
Types of Acoustic Treatment
There are two main types of acoustic treatment: absorption and diffusion. Absorption materials, like foam panels and bass traps, soak up sound waves, preventing them from bouncing around like a hyperactive puppy. These materials are particularly effective at reducing echo and reverberation, which can muddy your recordings. On the other hand, diffusion scatters sound waves, helping to create a more balanced sound. Think of it as a party where everyone is mingling instead of awkwardly standing in a corner. Diffusers can be made from various materials, including wood and plastic, and are often designed to look aesthetically pleasing while serving their acoustic purpose. By combining both absorption and diffusion, you can create a well-rounded acoustic environment that enhances the overall sound quality.
How Much Treatment Do I Really Need?
The amount of treatment you need depends on your space and what you’re recording. A small bedroom studio might only need a few strategically placed panels, while a larger room could require a full-on acoustic makeover. As a general rule, start with the corners (where bass loves to hang out) and work your way to the walls. It’s also important to consider the ceiling, as sound can reflect off it and contribute to unwanted echoes. Remember, it’s all about finding that sweet spot between too much and too little—like adding just the right amount of cheese to your pizza. Too much treatment can make a room feel dead and lifeless, while too little can lead to a chaotic soundscape. Experimenting with different configurations and listening critically to the results can help you achieve the ideal acoustic balance for your specific needs. Additionally, using measurement tools and software can provide valuable insights into how sound behaves in your space, allowing for more informed decisions regarding your acoustic treatment strategy.
Can I Use Everyday Items for Acoustic Treatment?
Absolutely! Before you rush off to spend your life savings on fancy acoustic panels, take a look around your home. You might be surprised at what you can repurpose. Old blankets, rugs, and even curtains can do wonders for your sound quality.

DIY Acoustic Panels
If you’re feeling crafty, consider making your own acoustic panels. All you need is some wood, insulation material, and fabric. There are countless tutorials online that can guide you through the process. Plus, it’s a great way to impress your friends with your newfound DIY skills. Just don’t blame us if they start asking you to build furniture for them too!
What About Furniture?
Believe it or not, your furniture can also contribute to your studio’s acoustics. Soft furnishings like couches and chairs help absorb sound, while hard surfaces like glass tables can reflect it. If your studio looks like a furniture showroom, consider rearranging or adding some plush items to help with sound absorption. Just remember to keep it functional—no one wants to trip over a bean bag while trying to hit that high note!
How Do I Know If My Room Needs Treatment?
There are a few signs that your room might be in desperate need of acoustic treatment. If your recordings sound muddy, echoey, or just plain weird, it’s time to take action. You can also do a simple clap test: clap your hands and listen for how the sound bounces around the room. If it sounds like a delayed echo, your room is likely reflecting sound waves instead of absorbing them.
Using Technology to Assess Acoustics
If you want to get a bit more high-tech, consider using an app or software that analyzes your room’s acoustics. These tools can provide valuable insights into frequency response and help you identify problem areas. It’s like having a sound engineer in your pocket—minus the hefty price tag!
What Are Common Acoustic Problems in Home Studios?
Even the most well-meaning home studio owners can run into a few common acoustic problems. Here are some of the usual suspects:
Standing Waves
Standing waves occur when sound waves bounce off parallel surfaces, creating peaks and valleys in your frequency response. This can lead to certain frequencies being overly pronounced or completely absent. To combat standing waves, try adding bass traps in the corners and diffusers on the walls.
Flutter Echo
Flutter echo is that annoying sound you hear when you clap in a room and get a series of quick, repeating echoes. It’s like your room is trying to join in on the clapping, but it’s just not quite hitting the beat. To reduce flutter echo, place absorbent materials on the walls opposite each other, or use diffusers to break up the sound waves.
Reverberation
Reverberation is the persistence of sound in a space after the original sound has stopped. While a little reverb can add warmth to your recordings, too much can make everything sound muddy and indistinct. Aim for a balanced sound by treating your room with a mix of absorption and diffusion.
What Equipment Should I Use for Acoustic Treatment?
When it comes to acoustic treatment, the right equipment can make all the difference. Here are some essentials to consider:
Acoustic Panels
Acoustic panels are a must-have for any home studio. They come in various shapes and sizes, and you can even find them in stylish designs that won’t clash with your decor. Look for panels made from high-density foam or mineral wool for the best results. Just remember, you’re not decorating a museum—don’t be afraid to get a little creative!
Bass Traps
Bass traps are specifically designed to absorb low frequencies, which can be a real challenge in smaller rooms. These are typically placed in the corners of your studio, where bass frequencies tend to build up. Think of them as the bouncers of your studio, keeping unwanted bass in check.
Diffusers
Diffusers help scatter sound waves, creating a more balanced acoustic environment. They come in various shapes and sizes, and some even look like modern art pieces. Installing diffusers can help prevent that “boxy” sound and give your recordings a more professional touch. Who knew acoustics could be so stylish?
How Do I Position My Microphone for the Best Sound?
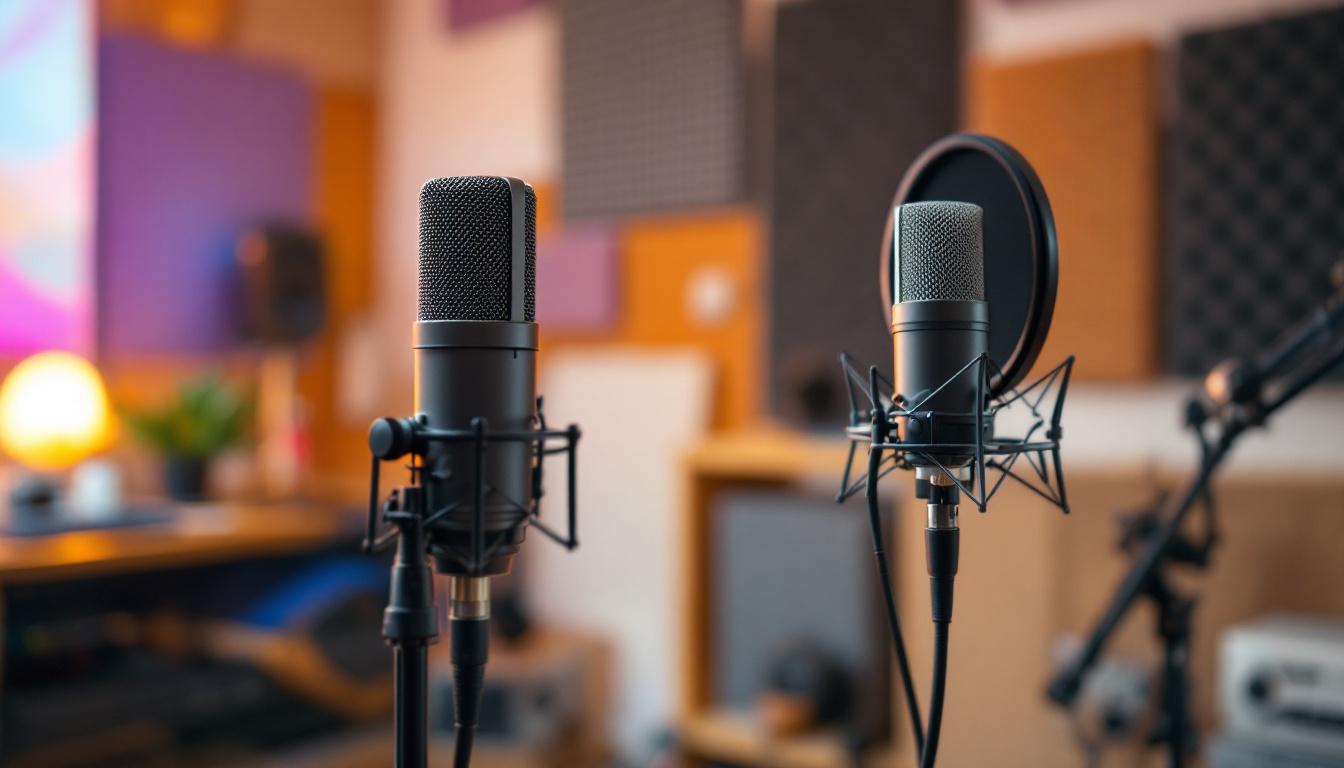
The placement of your microphone can have a huge impact on your recordings. Here are some tips to help you get the best sound:
Distance Matters
How far you place your microphone from the sound source can drastically change the tone of your recordings. Generally, closer mic placements capture more detail and clarity, while further placements can create a more spacious sound. Experiment with different distances to find what works best for your specific setup.
Angle It Right
Microphone angle is just as important as distance. Positioning your mic at an angle can help reduce plosives (those pesky popping sounds that happen with “P” and “B” sounds) and improve overall sound quality. Think of it as giving your mic a little tilt, like it’s trying to catch the best view of your performance.
Can I Treat My Home Studio on a Budget?
Absolutely! You don’t have to break the bank to achieve great acoustics. Here are some budget-friendly tips:
Shop Smart
Look for sales, discounts, or even second-hand acoustic treatment materials. Websites like Craigslist or Facebook Marketplace can be treasure troves for finding used panels or foam at a fraction of the cost. Just be sure to inspect them for any funky smells or damage—no one wants a moldy panel in their studio!
Get Creative
As mentioned earlier, don’t underestimate the power of everyday items. Old mattresses, pillows, and even cardboard can be used to create makeshift acoustic treatment. Just remember, if it looks like a DIY project gone wrong, it might be time to rethink your design!
Let’s wrap it up
Acoustic treatment might seem overwhelming at first, but with a little creativity and experimentation, anyone can create a great-sounding home studio. Remember, it’s all about finding the right balance between absorption and diffusion, and using what you have at your disposal. So, roll up those sleeves, grab some blankets, and get ready to transform your space into an acoustic haven!