So, you’ve decided to tackle the wild world of acoustic treatment without breaking the bank. Maybe you’re a home producer, a podcaster, or just someone who wants to stop your room from sounding like a tin can. The big question: Can you really make a dent in your room’s sound quality with just $100?
Spoiler alert: Yes. But with some caveats.
This guide will walk you through what a hundred bucks can realistically achieve, what it absolutely can’t, and how to make smart choices that deliver solid results without emptying your wallet. Think of it as your acoustic treatment starter pack, budget edition.
Why Acoustic Treatment Matters (Even If You’re Cheap)
Before diving into foam panels and rugs, let’s get one thing straight: acoustic treatment isn’t just about making your room look cool or impress your friends with fancy gear. It’s about controlling sound reflections, reducing echoes, and creating a space where your recordings and mixes actually translate well.
Without some treatment, your mixes might sound great in your room but terrible everywhere else. That’s because untreated rooms can exaggerate bass, create weird echoes, and generally mess with your ears. The good news? You don’t have to spend a fortune to start fixing these problems.
Acoustic treatment can be as simple as rearranging furniture or adding soft furnishings like curtains and cushions. These elements can absorb sound waves and help to minimize reflections that cause muddiness in your audio. For instance, placing a thick rug on a hardwood floor can significantly reduce the harshness of sound bouncing off hard surfaces. Additionally, using bookshelves filled with books can act as a makeshift diffuser, breaking up sound waves and preventing them from creating standing waves that can distort your mixes.
Furthermore, understanding the basic principles of sound can empower you to make informed decisions about your space. Sound travels in waves, and when it encounters different materials, it can either be absorbed, reflected, or diffused. By strategically placing items that absorb sound, like heavy drapes or upholstered furniture, you can create a more balanced acoustic environment. Even DIY solutions, such as creating your own acoustic panels using rockwool or fiberglass wrapped in fabric, can be incredibly effective and budget-friendly. This way, you can tailor your treatment to the specific needs of your room without breaking the bank.
Breaking Down Your $100 Acoustic Treatment Budget
Here’s the reality: $100 won’t turn your room into a professional studio, but it can get you some meaningful improvements if you spend wisely. Let’s break down the options from “must-have” to “nice-to-have” and see what fits into that budget.
Must-Haves: Tackling the Biggest Offenders
- DIY Acoustic Panels (~$40-$50): Making your panels with Rockwool can be surprisingly affordable. You can build two 2’x4’ panels for around $40-$50 if you shop smart. These panels absorb mid to high frequencies and reduce flutter echoes, which are the biggest culprits in small rooms. Additionally, consider wrapping them in fabric that complements your room’s decor, which not only enhances aesthetics but also helps with absorption.
- Bass Traps (Budget Version) (~$20-$30): Bass frequencies are the sneaky villains that cause boomy, muddy sound. True bass traps are expensive, but you can DIY corner traps using dense insulation foam or thick blankets for about $20-$30. They won’t be perfect but will help tame low-end buildup. Placing these traps in the corners of your room can significantly improve clarity, especially when recording bass-heavy instruments or vocals.
- Heavy Curtains or Blankets (~$10-$20): Thick curtains or moving blankets hung on reflective surfaces (like windows or bare walls) can absorb reflections and reduce slapback echoes. They’re cheap, effective, and double as room darkening if you’re recording vocals. Opt for curtains that are floor-length to maximize coverage, and consider layering them for added sound absorption.
Nice-to-Haves: Adding the Finishing Touches
- Rugs (~$10-$30): A thick rug on a hard floor surface cuts down on floor reflections. It’s a simple way to reduce early reflections bouncing up from the floor, especially if you have hardwood or tile. Look for rugs with a dense weave, as they will provide better sound absorption and can also add warmth to your space.
- Used Acoustic Gear (~Varies): Scouring local marketplaces for used panels or bass traps can sometimes score you a deal. Just be cautious about the condition and type of materials used. Often, you can find high-quality gear that’s barely used, allowing you to stretch your budget further while still achieving effective treatment.
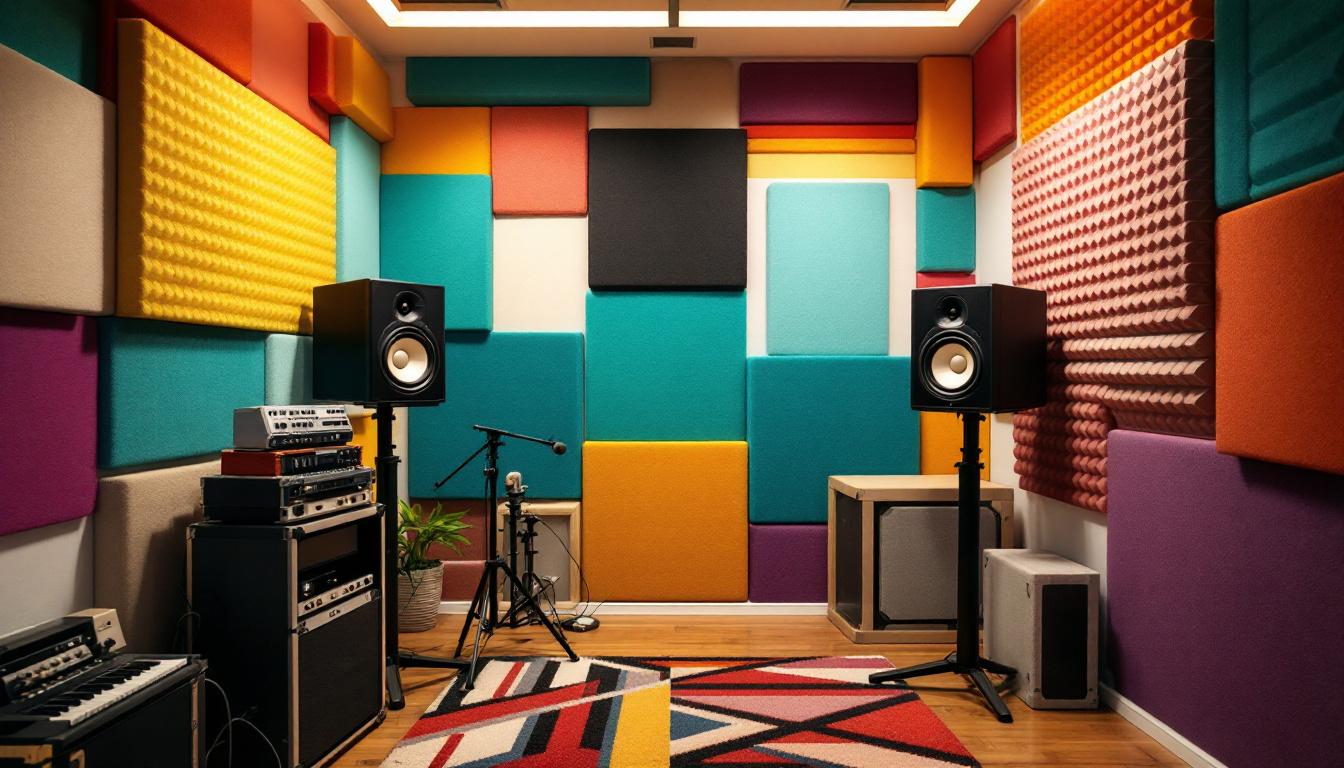
- Foam Panels (~$10-$40): While foam panels look cool and are popular, they’re mostly effective at mid to high frequencies and do little for bass. They’re best as a supplement rather than your main treatment. If you choose to include them, consider placing them strategically at first reflection points to maximize their effectiveness, and remember that they can also serve as a visual element in your studio setup.
As you navigate your acoustic treatment journey, remember that the placement of these items is just as important as the items themselves. Experimenting with different configurations can lead to surprising improvements in sound quality. For instance, try moving your DIY panels around to find the sweet spot where they make the most impact, or consider creating a movable setup with your heavy curtains and blankets to adapt to different recording scenarios. Every small adjustment can lead to a more polished sound, bringing you one step closer to achieving that professional vibe in your home studio.
Sample $100 Acoustic Treatment Spend Plan
Here’s a sample breakdown to show you how to allocate your $100 for maximum impact:
- DIY Rockwool Panels (2 panels): $45 – Absorbs mid/high frequencies and cuts flutter echo.
- DIY Bass Trap (Corner Trap): $25 – Helps tame low-end muddiness.
- Heavy Curtain or Moving Blanket: $20 – Covers reflective surfaces and windows.
- Rug or Carpet Remnant: $10 – Reduces floor reflections.
This adds up to $100 and covers most of the frequency spectrum with a focus on the biggest acoustic problems in typical untreated rooms.
When considering the placement of your DIY Rockwool panels, it’s essential to position them at first reflection points, which are typically located on the side walls and ceiling. This strategic placement not only enhances the clarity of your sound but also creates a more immersive listening experience. Additionally, the panels can be easily customized with fabric covers that match your room’s decor, allowing you to maintain aesthetic appeal while improving acoustics.
Furthermore, the DIY Bass Trap is particularly effective when placed in the corners of your room, where low frequencies tend to accumulate. By addressing these problematic areas, you can significantly improve the overall sound quality, making it more balanced and enjoyable. The heavy curtain or moving blanket serves a dual purpose; it not only dampens sound reflections but also adds a layer of insulation, contributing to a more comfortable environment. Lastly, the rug or carpet remnant can be a stylish addition that not only enhances the room’s decor but also provides warmth underfoot, making your space more inviting while reducing unwanted sound reflections from hard flooring surfaces.
What $100 Acoustic Treatment Can’t Do
Let’s be honest: $100 won’t get you perfect sound isolation or professional-grade bass traps. Here’s what to keep in mind:
- Isolation? Forget It. Acoustic treatment is about controlling sound inside the room, not keeping sound from leaking in or out. For noise isolation, you need construction changes like double walls or mass-loaded vinyl, which cost way more.
- Foam ≠ Bass Trap. Cheap foam panels look cool but don’t absorb low frequencies effectively. If bass is your main problem, foam alone won’t fix it.
- Coverage Limits. With a $100 budget, you can’t treat every wall or corner. Prioritize spots like first reflection points, corners, and behind your monitors.
DIY vs. Commercial Acoustic Treatment: The Great Debate
Why DIY? Because it’s cheap and customizable. But it’s not without its quirks. Commercial panels often have better density, fire safety ratings, and aesthetics. However, they can cost $50+ per panel, which adds up quickly.
DIY panels, when done right, can match commercial performance at a fraction of the price. Plus, building your own gives you control over size, thickness, and placement. Just be sure to use the right materials—fiberglass or rockwool are the best absorbers.
Used Gear: A Mixed Bag
Buying used acoustic panels or traps can be a budget-friendly option, but it’s hit or miss. Check for mold, damage, and material type. Avoid panels made from unknown foam types that may be less effective or even hazardous.
Smart Acoustic Treatment Tips for Budget-Conscious Producers
Here are some quick tips to get the most bang for your buck:
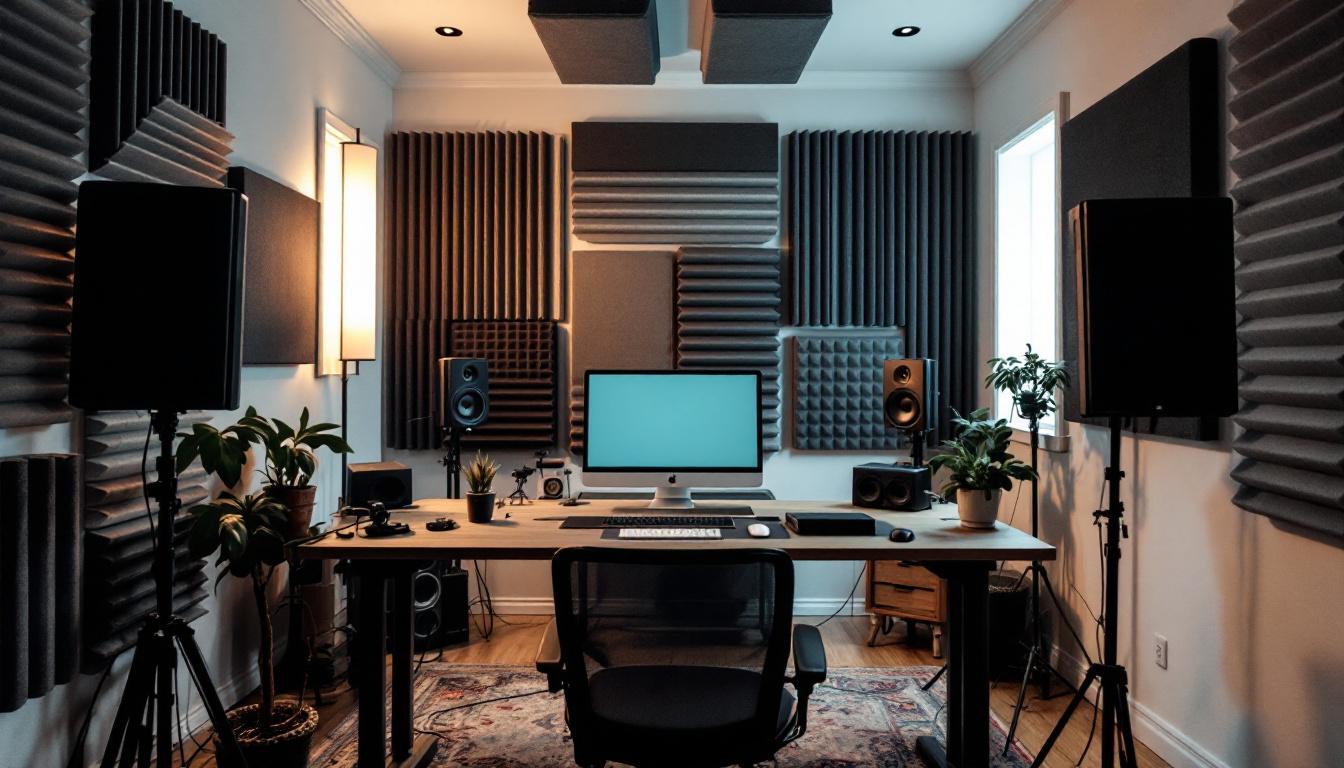
- Prioritize First Reflection Points: These are the spots on the side walls and ceiling where sound first bounces to your ears. Treating these areas has the biggest impact on clarity.
- Use Corners for Bass Traps: Bass builds up in corners, so focus your thicker panels or traps there.
- Layer Materials: Combine blankets, rugs, and panels to cover a broader frequency range.
- Don’t Overdo It: Too much absorption can make a room sound dead and unnatural. Balance is key.
- Be Patient: Acoustic treatment is a process. Start small, listen, and adjust.
The $100 Acoustic Treatment Reality Check
Acoustic treatment on a budget is totally doable, but it requires smart choices and realistic expectations. With $100, you can make meaningful improvements that reduce echo, tame mid/high frequencies, and even help control some bass buildup. You won’t get perfect isolation or a pro studio sound, but you’ll definitely sound better than before.
Remember, the key is prioritizing the biggest acoustic problems first and using a mix of DIY panels, bass traps, and soft furnishings. Layer your treatments and focus on reflection points and corners. And most importantly, keep your ears open and your wallet happy.
Now, go forth and treat that room like a pro—without spending like one!