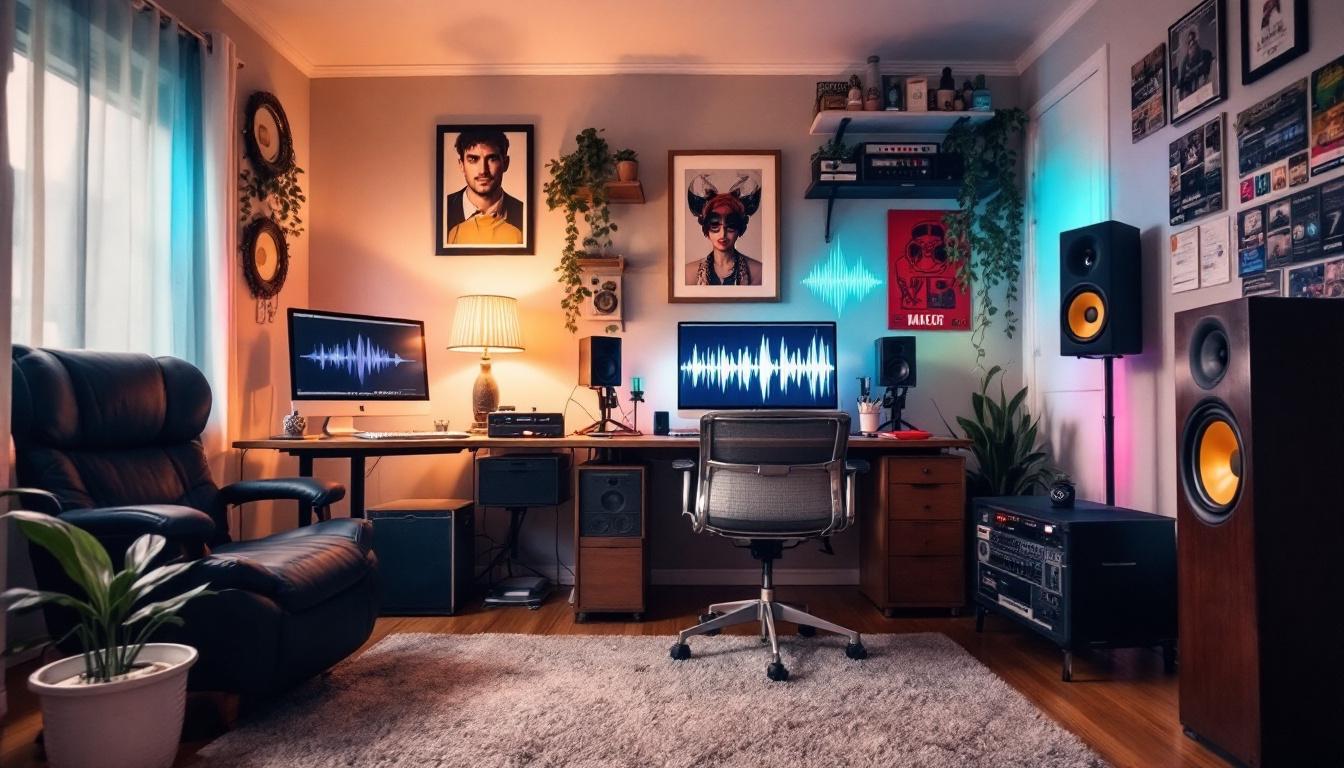
Every home-studio owner knows the story: the kick drum sounds huge on the monitors, but the moment the mix is played in a friend’s car, the low end caves in like a soggy cardboard box. The villain of the tale is almost always the same – untamed bass frequencies ricocheting around the room, piling up in corners, and making otherwise excellent mixes fall apart.
Commercial acoustic treatment can erase the problem, but the price tag often feels like it was set by someone who thinks money grows inside patch bays. Good news: building effective bass traps is neither rocket science nor wallet-destroying. Grab a staple gun, a stack of mineral wool, and a healthy dose of DIY bravado; those boomy corners are about to meet their match.
Why Low Frequencies Behave Like the Office Gossip
Bass waves are long—ten-foot giants that swagger through small rooms with more attitude than an arena headliner. Unlike higher frequencies that politely bounce off thin absorbers, low frequencies dig in, stack up, and create peaks and nulls that masquerade as mysterious “room issues.” Corners are their favorite hangout: the trihedral intersection where three surfaces meet acts like an all-you-can-eat buffet for low end.
Without proper absorption, these long waves exaggerate certain notes while strangling others. The result: mixes translated elsewhere sound bloated, thin, or just plain weird. Standard two-inch foam panels tame mids and highs but leave the real troublemakers untouched. Dedicated bass traps—thicker, denser, and tougher—are the only bouncers capable of kicking unruly lows out of the party.
Meet the Trap Lineup
Corner (Triangular) Bass Traps
The heavyweight champion of DIY builds. Shaped like monster Toblerone bars, triangular traps fill floor-to-ceiling corners with six to ten inches of dense insulation. Because corners collect the most bass energy, stuffing them with absorbent material delivers an instant improvement. Stack two triangles per corner, add a small air gap behind them, and a stubborn 60 Hz hump often flattens faster than fresh soda.
Broadband Panel Traps
These rectangular panels are the Swiss-army knives of acoustic treatment. A 2′×4′ frame loaded with four to six inches of rockwool and wrapped in breathable fabric can handle bass, mids, and some highs in one shot. Lean a few against the rear wall, suspend more from the ceiling, and suddenly the stereo image snaps into focus. For roughly one-quarter the cost of retail alternatives, the sonic payback is borderline criminal.
Tube (Cylindrical) Traps
Picture giant, fabric-wrapped paper towel rolls stuffed with insulation. Because cylinders present equal surface area in every direction, they absorb bass evenly and can be rolled wherever needed – corners, behind monitors, or even out of sight when clients visit and insist on “vibey” décor. Some DIYers use heavy-duty concrete-form tubes; others craft wooden rings and stretch cloth around them. Either way, the round profile scores both absorption and a touch of diffusion.
Membrane (Diaphragmatic) Traps
Membrane traps take a different approach: a rigid panel (often plywood) in front of a sealed cavity vibrates sympathetically, capturing a narrow band of low frequencies. Think of them as sniper rifles rather than scatter-shot. They’re perfect for zapping a single, pesky room mode—say, that one bass note that rattles teeth but leaves everything else untouched. The build is a tad more technical (precise tuning is required), yet the rewards are huge when a specific frequency needs a time-out.
Helmholtz & Quarter-Wave Traps
The pet projects of acoustics nerds. These resonators resemble oversized bottles or PVC tubes drilled with ports, each dimension calculated to swallow a particular frequency range. They’re not the first choice for general treatment but become secret weapons in stubborn rooms. DIY builds exist—some even use salvaged wine barrels—though broadband traps typically give more bang for beginners’ bucks.
Shopping List: The Stuff That Eats Bass for Breakfast
Nothing beats dense, mineral-based insulation when it comes to soaking up low-end. Owens-Corning 703 or Rockwool Safe’n’Sound are classics: rigid enough to stand tall yet porous enough to invite bass inside for a quick energy-to-heat conversion. Aim for at least four inches of thickness; double that for truly deep trapping. Wooden 1×4s or 2×4s create frames, while lightweight plywood forms back panels if extra rigidity is desired.
Cover material must be acoustically transparent. The breath test—place cloth over the mouth and blow—never lies. If air passes freely, sound will too. Burlap, speaker cloth, and linen frequently make the cut, while vinyl upholstery does not. Add staples, screws, construction adhesive, and a box of nitrile gloves to keep insulation fibers where they belong.
Safety First, Itchy Arms Later
Mineral wool and fiberglass behave like microscopic cacti. Long sleeves, gloves, goggles, and a proper dust mask keep the itch—and the health risks—at bay. Cut insulation outdoors or in a well-ventilated workshop, vacuum afterward, and resist the urge to scratch until after a thorough shower. The discomfort fades; the acoustic glory lasts.
Building a Broadband Panel: Step-by-Step
1. Measure twice, cut once. Rip four pieces of lumber to create a rectangular frame (a 2′×4′ outline is a studio staple). Use right-angle clamps if available; wobbly frames lead to lopsided traps.
2. Assemble the frame. Pre-drill pilot holes, add wood glue along the seams, and run screws through the corners. The result should feel sturdy enough to serve as an impromptu skateboard ramp—though actual ramping is discouraged.
3. Load the insulation. Slide rigid fiberglass or rockwool boards into the frame until flush. For panels thicker than the insulation, simply double-stack. A piece of string zig-zagged across the back helps prevent slippage if the trap hangs vertically.
4. Wrap the panel. Lay breathable fabric face-down, place the loaded frame on top, pull fabric tight, and staple every two inches around the perimeter. Hospital-corner folds at each corner keep things tidy, and if aesthetics matter, add a second decorative layer—just keep it porous.
5. Mount or lean. French cleats make wall hanging painless, while eye bolts and chain let panels fly cloud-style from the ceiling. Leave a two-inch air gap behind for extra low-frequency absorption; physics says thank you.
Corner Trap Construction: Bigger Is Better
Corner traps devour insulation by the bagful, so budget accordingly. One popular approach stacks three 24-inch-wide triangles of rigid fiberglass inside a tall, right-angled wooden shell. For the ultimate “corner bass Hoover,” builders glue full sheets of rockwool together, carve a 45-degree face, then wrap the behemoth in fabric. Installation is gloriously simple: shove trap into corner, walk away smugly.
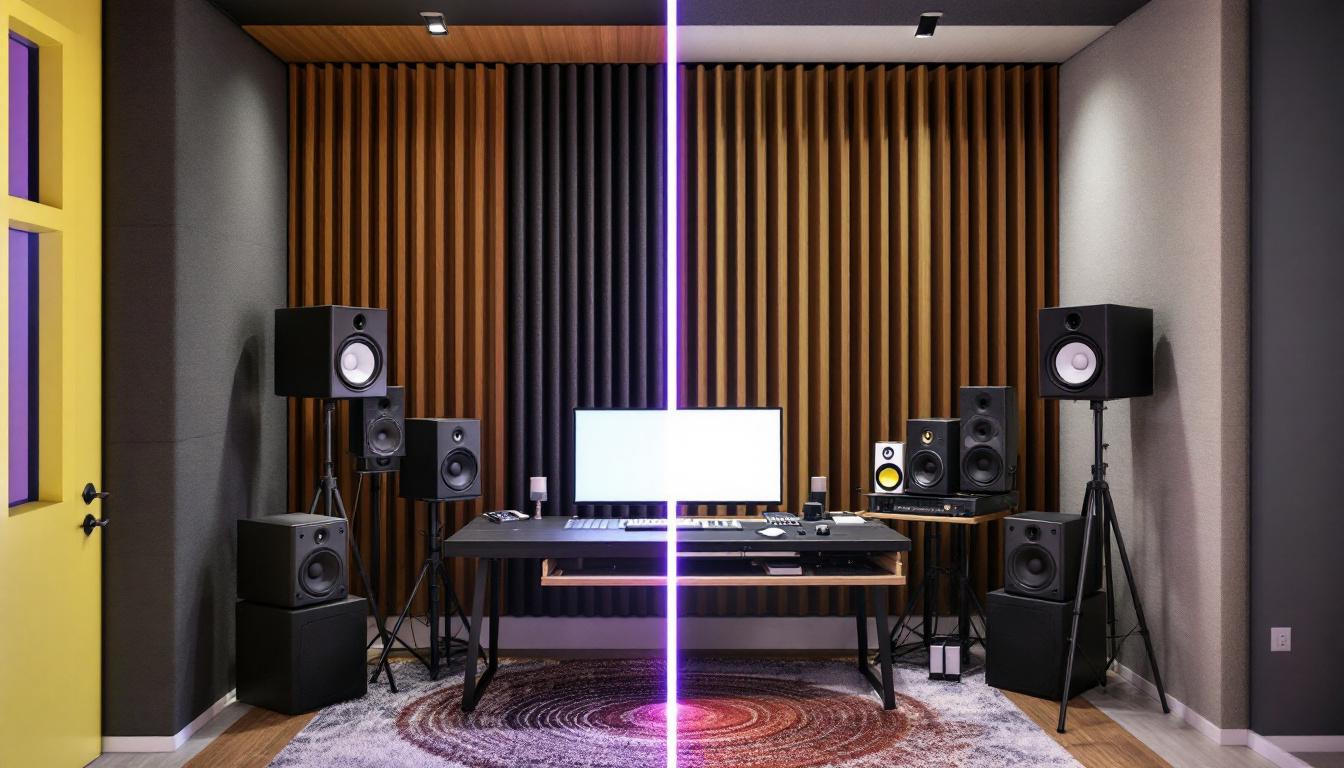
Placement: Where Traps Do the Most Damage (to Bad Bass)
Start with the four vertical corners—floor to ceiling if space allows. The front corners behind the speakers often yield the biggest wow-factor, tightening kick drums and bass guitars in a single afternoon. Next target ceiling-to-wall junctions, rear-wall first reflections, and any spot where measuring software (or trained ears) screams “boom.” Remember, more surface area equals smoother low end; one lonely panel is jolly but rarely life-changing.
Air gaps amplify effectiveness. A two-inch space behind a panel creates a double pass: bass travels through the absorber, hits the wall, reflects, and passes through again. This free boost in absorption is the room-treatment equivalent of finding money in an old guitar case.
Testing: Trust but Verify
Online tone generators can sweep 20–200 Hz while a measurement microphone logs the room’s response. Before treatment, dips and spikes resemble a lie-detector test on reality-TV night. After strategic trapping, the line flattens into something approaching calm. Subjectively, low-end tightens, stereo imaging widens, and mix decisions translate beyond the mix cave. Ears may grin, and so might streaming audiences.
Crunching the Numbers: How Cheap Is DIY, Really?
An average 2′×4′ commercial broadband panel can retail for $100–$120. Build six and the credit-card whimpers. By contrast, six DIY panels using 2×4 lumber, Roxul insulation, and burlap fabric often total under $170—about $28 each. Corner traps run pricier in material volume but still land well below store-bought figures. The saved cash funds better microphones, nicer plugins, or actual pizza for all-night mix sessions.
Common Mistakes & How to Dodge Them
- Using thin foam and calling it a day: Foam lacks density. Four inches of rigid fiberglass absorbs roughly three times the low-frequency energy of similar-thickness foam. Go dense or go home.
- Over-stuffing every surface: Killing reflections entirely can render a room lifeless. Balance bass absorption with mid/high diffusion—bookshelves, slats, or skyline diffusers—to keep ambience natural.
- Skipping measurement: Without data, trap placement devolves into guessing. Even a free smartphone app provides clues about where frequencies misbehave.
Going Further: Membrane Marvels & Tuned Resonators
When a room screams “Everything sounds fine except 47 Hz,” broadband traps alone may not cut it. Enter tuned devices. A diaphragmatic absorber—think thin plywood front, sealed box rear—can be calculated to resonate exactly at the problem frequency. Build one, park it in the worst-offending corner, and rejoice as that once-obnoxious note calms down.
Helmholtz resonators operate on the same principle, using a cavity and a neck (a port) to target a frequency. These builds require math, a bit of trial and error, and maybe a chalkboard full of equations, but the bragging rights are worth the extra elbow grease.
Aesthetic Upgrades: Because Traps Can Look Cool, Too
Burlap-wrapped rectangles serve the sound, yet they won’t win interior design awards. Cover frames in printed canvas, add hardwood slats for a Scandinavian vibe, or paint frames to match LED strip lights. Clients (or roommates) will appreciate a room that sounds stellar and looks intentional rather than resembling a mattress warehouse.
Final Bass-Taming Checklist
- Aim for 30-50 percent of wall surface covered by absorbers or diffusers.
- Treat all four vertical corners before anything else.
- Use rigid fiberglass or mineral wool at least four inches thick.
- Leave small air gaps behind panels for free extra absorption.
- Measure before and after to confirm improvements.
- Celebrate smoother low end with a playback of a familiar mix, then post smug screenshots of flattened frequency graphs.

Wrap-Up
Every major recording studio, from Abbey Road to the converted garage next door, pays tribute to bass traps. They’re the unsung heroes—absorbing energy, shortening decay, and preventing fistfights between engineers and mastering houses. A well-trapped room levels the playing field, making five-digit monitors sound like they’re worth it and budget speakers punch above their weight.
So the next time the couch cushions rattle during a kick-drum roll, remember: the couch is innocent. It’s the air that’s misbehaving, and bass traps are the hall monitors ready to issue detention. Treat the corners, respect the science, and the low end will behave like a well-trained dog—loyal, powerful, and only slightly slobbery.