So, you’ve been hearing the buzz about acoustic panels – those sleek, often colourful squares that people slap on their walls to tame echo and improve sound quality. But do they actually work, or are they just fancy wall art for audiophiles and home studio nerds?
If you’re curious (and sceptical), you’re in the right place. This article will walk you through how to scientifically test whether acoustic panels really make a difference in your space using a simple A/B testing method. Spoiler alert: it’s more fun than it sounds, and you might just become an acoustic detective in the process.
Why Acoustic Panels Matter (Or Do They?)
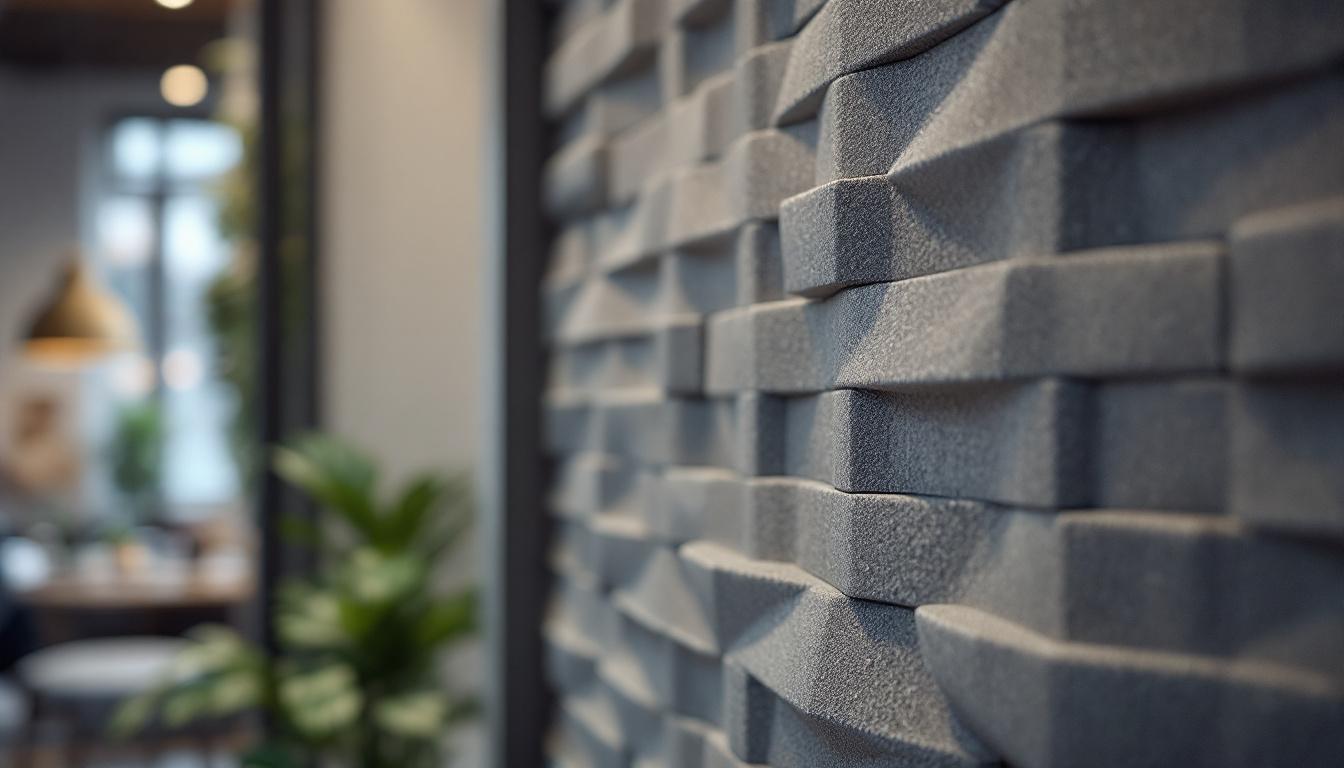
Before diving into the experiment, let’s quickly cover why acoustic panels are a hot topic. In any room, sound waves bounce off hard surfaces like walls, ceilings, and floors. This bouncing creates echoes, muddled frequencies, and a general lack of clarity. Acoustic panels are designed to absorb some of those sound waves, reducing reflections and improving the overall sound quality.
But here’s the catch: not every room is the same, and not every panel is a magic wand. The effectiveness depends on factors like room size, panel placement, and the type of sound you’re dealing with. That’s why a one-size-fits-all approach doesn’t cut it. Testing your own setup is the best way to find out if those panels are worth the investment.
The Science Behind Sound Treatment
Sound travels in waves, and when those waves hit a surface, they either get absorbed, reflected, or transmitted. Acoustic panels primarily absorb mid to high frequencies, which helps reduce harsh echoes and reverberation. Low frequencies (bass) are trickier and usually require specialised bass traps.
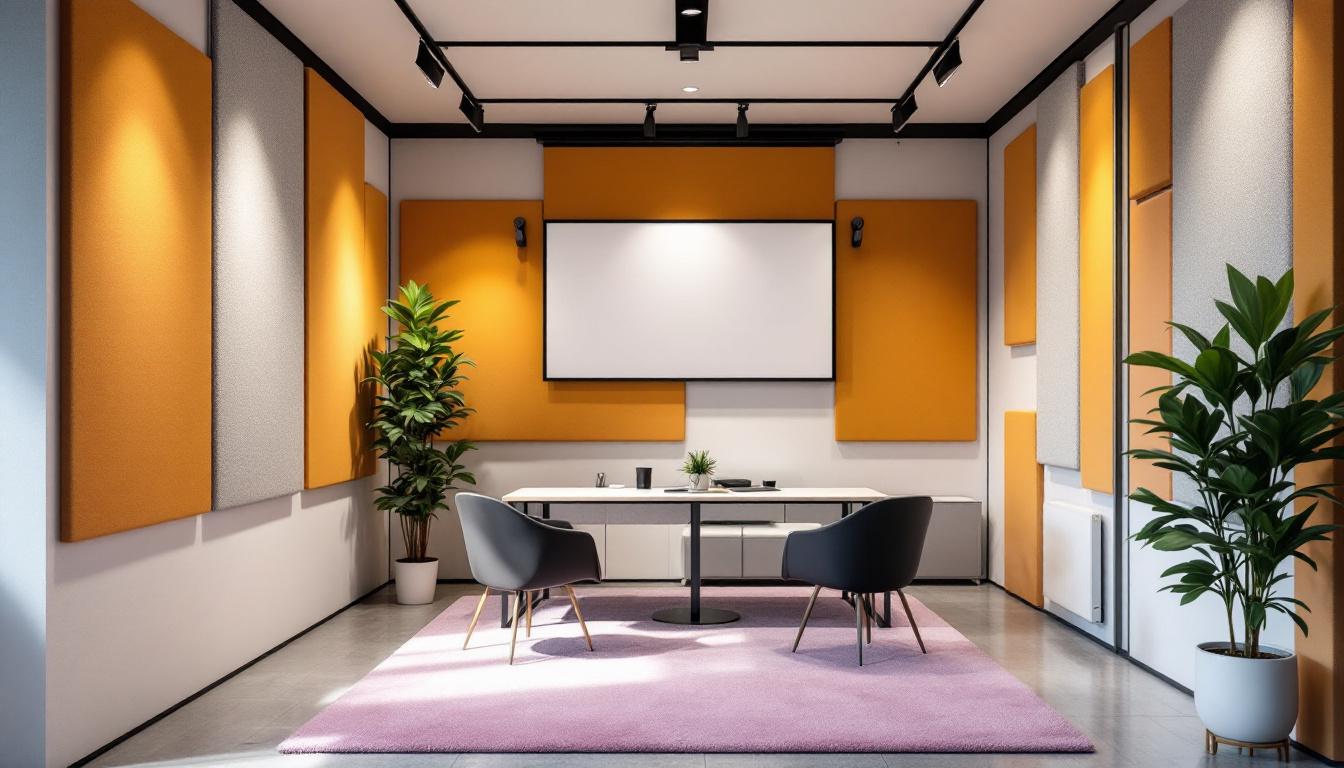
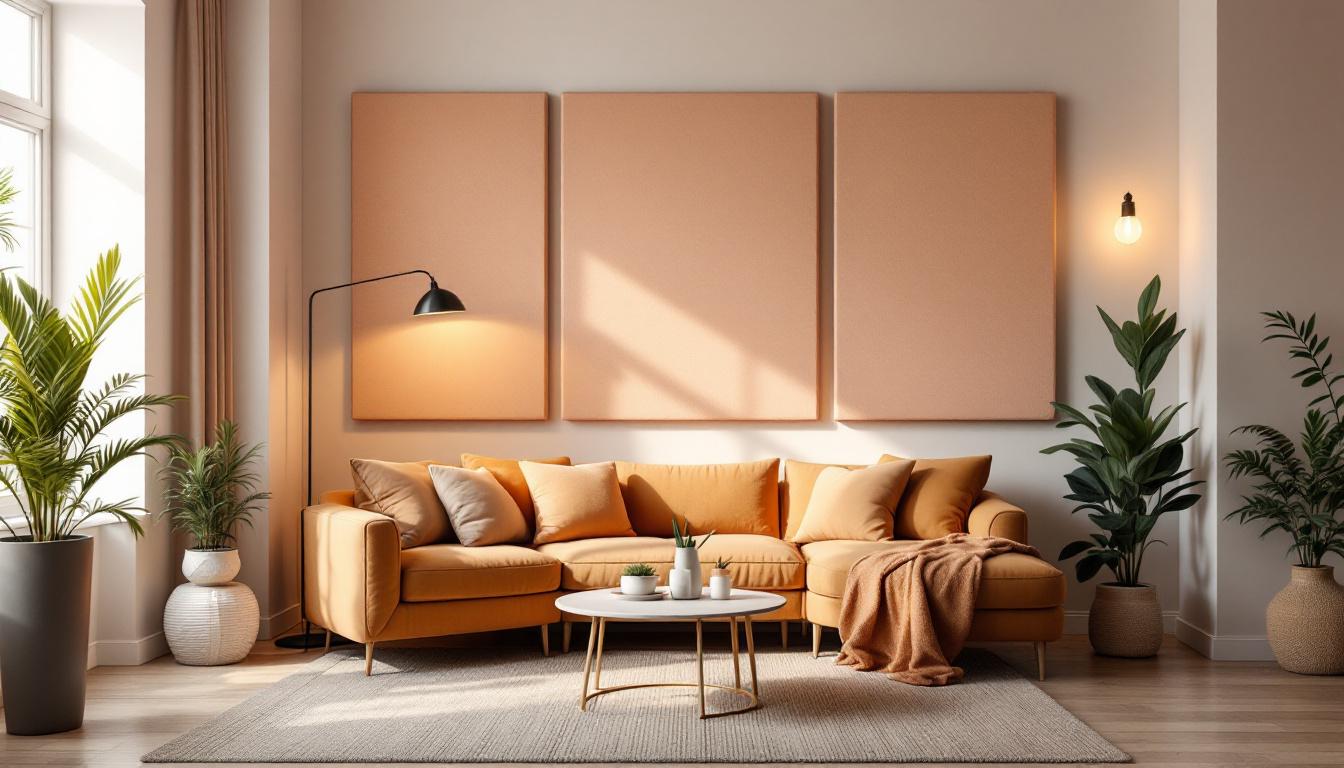
By absorbing sound waves, panels can create a clearer, more balanced listening environment. This is why studios, theaters, and even some offices use them. But in a typical home or casual setup, the difference might be subtle unless you know what to listen for. For instance, in a home theater, the clarity of dialogue can significantly enhance the viewing experience, allowing for a more immersive atmosphere. Additionally, in environments where concentration is key, such as open-plan offices, acoustic panels can help minimize distractions, leading to increased productivity and focus.
Moreover, the aesthetic aspect of acoustic panels should not be overlooked. With a variety of designs, colors, and materials available, they can serve as both functional and decorative elements in a space. Whether you prefer sleek, modern designs or something more traditional, there’s likely a panel that fits your style. This dual functionality makes them an appealing choice for homeowners and businesses alike, as they can enhance both the auditory and visual experience of a room.
Setting Up Your A/B Test: Treated vs. Untreated Room
Ready to put those panels to the test? The key to a solid experiment is controlling variables and making clear comparisons. Here’s how to do it step-by-step.
Step 1: Prepare Your Space
Start with a room that you use regularly for listening—whether it’s your living room, home studio, or gaming den. Make sure the room is quiet and free from interruptions during your test sessions.
First, clear the space of any existing acoustic treatments or anything that might affect sound reflections (like heavy curtains or rugs) unless you want to include them in your baseline measurement. This is crucial because even minor elements can skew your results. Consider the dimensions of your room as well; larger spaces may require different treatment strategies compared to smaller ones. Also, take note of any furniture arrangement that could impact sound waves, as items like bookshelves or couches can absorb or reflect sound in unexpected ways.
Step 2: Record the Untreated Sound
Play a variety of audio samples that cover a broad frequency range—think music tracks with vocals, bass-heavy songs, and spoken word recordings. Use the same playback device and volume settings each time to keep things consistent.
Listen carefully and take notes on what you hear. Pay attention to clarity (can you hear every word or instrument distinctly?), frequency balance (does the bass overpower the treble or vice versa?), and any echo or muddiness. If you want to get fancy, record the audio using a decent microphone placed where you usually listen. This will allow you to capture the nuances of the untreated sound environment. Additionally, consider using a frequency analyzer app to visualize the sound spectrum, which can provide valuable insights into how your room’s acoustics are affecting playback.
Step 3: Add Your Acoustic Panels
Now, install your acoustic panels according to the manufacturer’s recommendations or common best practices—usually at reflection points like the walls beside and behind the listening position, and possibly the ceiling.
Keep the rest of the room setup exactly the same. No moving furniture or changing volume levels. It’s also a good idea to allow the panels to acclimate for a short period after installation, as some materials may need time to settle into their optimal performance. Be mindful of the panel placement; strategic positioning can significantly enhance sound absorption and diffusion, leading to a more balanced listening experience. You might also want to experiment with different panel thicknesses and materials to see how they affect the sound in your specific environment.
Step 4: Record the Treated Sound
Repeat the same audio playback and listening procedure. Take notes again, focusing on the same criteria: clarity, frequency balance, and echo.
Try to be as objective as possible. If you’re recording, compare the untreated and treated audio files side-by-side on your computer. This comparison will be invaluable for understanding the impact of your acoustic treatment. You may also want to invite a friend or fellow audiophile to listen and provide feedback; sometimes a fresh pair of ears can catch details you might miss. Additionally, consider documenting your findings in a spreadsheet or journal, as this can help you track improvements over time and refine your acoustic treatment strategy for future tests.
Becoming an Acoustic Detective: What to Listen For
Listening critically can feel intimidating, but it’s just like training your ears to notice subtle differences—kind of like wine tasting, but with sound waves. Just as a sommelier can detect hints of oak or berry in a fine wine, an acoustic detective learns to discern the nuances in sound that can make or break an audio experience. This skill is not only beneficial for musicians and sound engineers but also for anyone who wants to enhance their listening environment, whether it’s for casual enjoyment or professional applications.
Clarity Is King
Ask yourself: Are the vocals or dialogue easier to understand? Do the instruments sound more distinct or less “muddy”? Acoustic panels often help by cutting down on overlapping reflections that blur sounds together. The placement of these panels is crucial; strategically positioning them at first reflection points can significantly improve clarity. Furthermore, consider the materials used in these panels—different fabrics and densities can absorb various frequencies, allowing you to tailor the acoustic environment to your specific needs. This attention to detail can transform a cluttered soundscape into a clear, engaging auditory experience.
Frequency Balance: The Sound Spectrum
Does the bass boom less or more? Are the highs crisp without being harsh? Sometimes untreated rooms can exaggerate certain frequencies due to standing waves or reflections. Panels can smooth out these imbalances, making the sound more natural. Additionally, the interplay between low, mid, and high frequencies can greatly affect how music is perceived. For instance, a well-balanced mix allows the listener to appreciate the subtleties of a guitar riff while still feeling the thump of the bass drum. Experimenting with different types of acoustic treatment, such as bass traps in the corners or diffusers on the walls, can lead to a richer and more immersive listening experience that captures the full spectrum of sound.
Echo and Reverberation: The Ghosts in Your Room
Listen for lingering echoes or a “washy” sound that makes everything blend together. A treated room should feel tighter and more controlled, with less of that echoey vibe. This is particularly important in spaces where spoken word is prevalent, such as home theaters or recording studios. Excessive reverberation can obscure dialogue, making it difficult for listeners to follow conversations or narratives. By utilizing a combination of absorption and diffusion techniques, you can create a balanced acoustic environment that allows sounds to breathe without overwhelming the listener. The goal is to achieve a space where every word and note is articulated clearly, inviting the audience to engage fully with the audio content.
Tips for a Fair and Fun Test
Testing your acoustic setup doesn’t have to be a dry science experiment. Here are some tips to keep it engaging and reliable.
Use Familiar Audio
Pick songs or recordings you know well. It’s easier to spot differences when you’re familiar with the material.
Take Breaks
Your ears get tired! Take short breaks between listening sessions to avoid auditory fatigue.
Get a Second Opinion
Invite a friend or family member to listen and compare notes. Fresh ears can catch things you might miss.
Document Everything
Write down your observations or keep audio recordings. This helps you track progress and make informed decisions.
What If You Don’t Hear a Difference?
Don’t worry, sometimes the changes are subtle, especially in smaller or already well-treated rooms. Here are a few reasons why your test might not show a huge improvement:
- Room Size and Shape: Small rooms might have less problematic reflections, or the panels might need to be placed differently.
- Panel Quality and Quantity: Cheap or too few panels won’t absorb enough sound to make a noticeable difference.
- Listening Position: If you’re not sitting in the “sweet spot,” the benefits might be less obvious.
If you’re not convinced, consider experimenting with panel placement or adding bass traps to tackle low-frequency issues.
Wrapping It Up: Are Acoustic Panels Worth It?
Acoustic panels can definitely make a difference, but the impact varies widely depending on your space, setup, and what you’re listening for. By conducting your own A/B test, you turn guesswork into evidence, helping you decide whether to invest in treatment or not.
Plus, you get to sharpen your listening skills and maybe impress your friends with your newfound acoustic detective prowess. So grab those panels, set up your experiment, and let the sound waves tell their story.
Happy listening!