Transforming a spare room into a home studio is like turning a pumpkin into a carriage—if the carriage was made of soundproof foam and had a killer sound system. Whether you’re a budding musician, a podcaster, or just someone who likes to belt out show tunes in the shower (hey, no judgment here), creating a sonic sanctuary can be a game-changer. So, grab your paintbrush, your favorite playlist, and let’s dive into the world of home studio makeovers!
Finding Your Space: The Great Room Debate
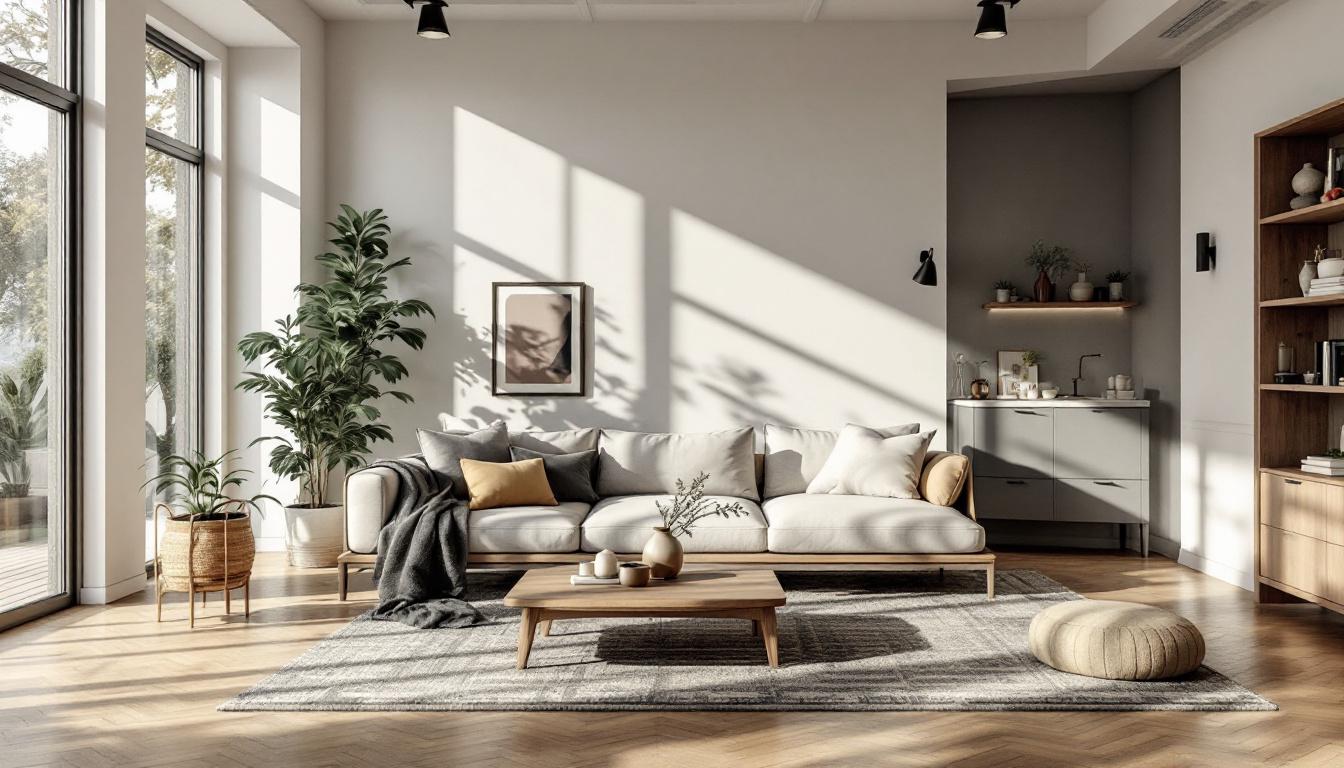
Before you can start slapping up acoustic panels and arranging your gear, you need to decide which room is going to be your creative haven. Is it that spare bedroom that’s currently a graveyard for old furniture? Or perhaps the basement that’s more dungeon than den? Fear not, for every space has potential!
Assessing the Space
The first step is to assess your current options. Look for a room that’s quiet and away from the hustle and bustle of daily life. If you have kids, pets, or a partner who thinks “quiet” is a four-letter word, you might want to consider soundproofing options. Remember, a little isolation can go a long way in achieving that professional sound. Think about the layout of the room as well; a space with minimal windows can help reduce outside noise and distractions. If you find yourself in a room with a lot of natural light, consider using heavy curtains or soundproof blinds to help create a more controlled environment. The right atmosphere can inspire creativity and focus, so take your time to evaluate what works best for you.
Dimensions Matter
Next, consider the dimensions of the room. A smaller space can actually work in your favor if you arrange it correctly. Think about how sound waves bounce around. You don’t want your vocals echoing like you’re singing in a cathedral. A room that’s too big can make it hard to capture that intimate sound you’re going for. So, choose wisely! Additionally, the shape of the room plays a crucial role in sound quality. Rectangular rooms can often provide better acoustics than square ones, as they help to avoid standing waves that can muddy your sound. If you’re working with an unconventional space, don’t shy away from experimenting with different layouts and furniture arrangements. Sometimes, a simple reconfiguration can make all the difference in how sound travels and is captured in your recordings.
Designing Your Sonic Sanctuary
Now that you’ve picked your space, it’s time to unleash your inner interior designer. This is where the magic happens—where dreams of Grammy awards and podcast fame begin to take shape. But before you start throwing paint on the walls, let’s talk about a few key design elements.
Color Schemes: Mood Matters
Colors can affect your mood, and let’s be honest, you want to feel inspired when you’re creating. Bright colors can energize you, while softer hues can help you relax. Consider a color palette that reflects your personality. Are you a vibrant yellow or a calming blue? Just remember, you’re not painting a kindergarten classroom—keep it classy!
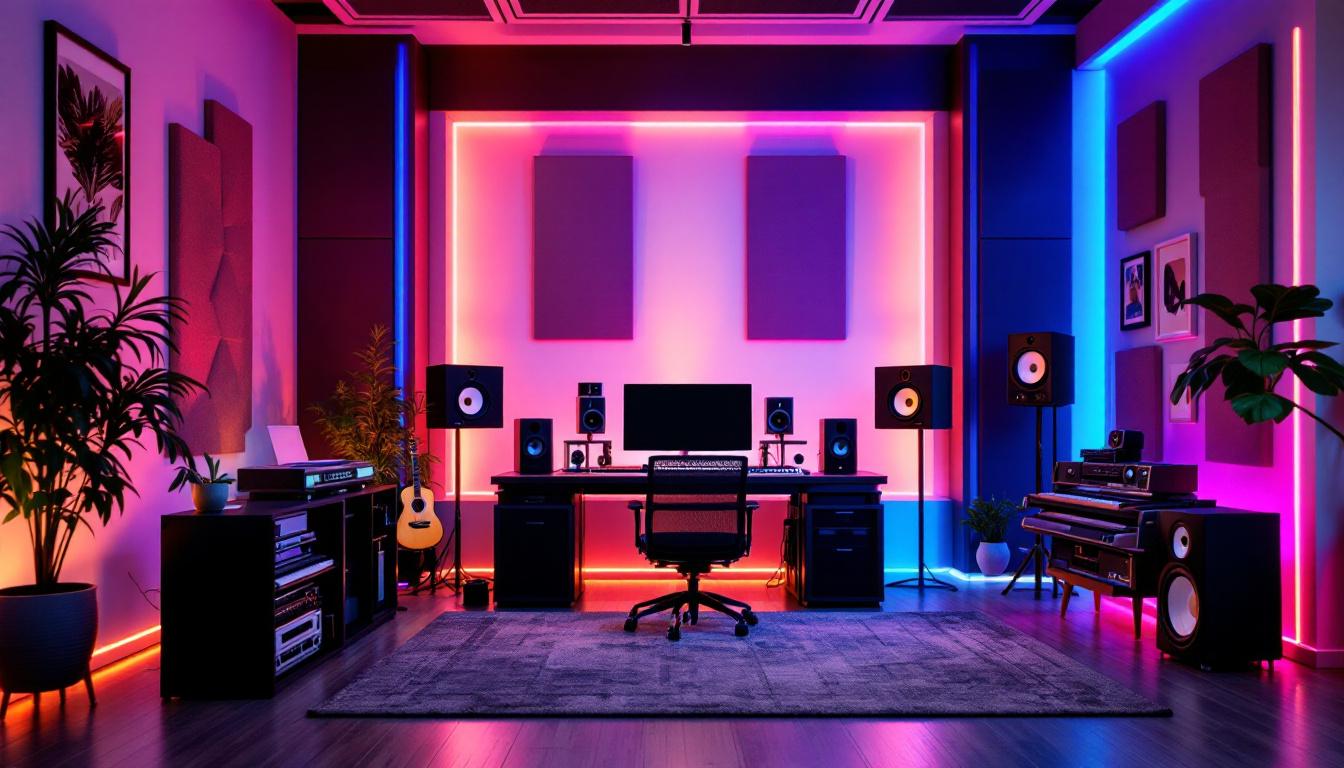
Lighting: Set the Vibe
Lighting can make or break your studio. Natural light is fantastic, but it can also be a distraction. If you’re recording, you might want to invest in some adjustable LED lights. They can help you create the perfect ambiance for those late-night recording sessions when inspiration strikes. Plus, they’re great for mood lighting when you’re trying to impress your friends with your “serious artist” vibe.
Soundproofing: Keeping the World Out
Once your design is in place, it’s time to tackle the most critical aspect of any home studio: soundproofing. You don’t want your neighbor’s dog barking to make a cameo in your next hit single, do you? Let’s explore some effective soundproofing techniques.
DIY Soundproofing Hacks
Soundproofing doesn’t have to break the bank. There are plenty of DIY hacks to help you keep the noise at bay. Think heavy curtains, rugs, and even foam panels. You can find acoustic foam online or at your local music store, and they come in all sorts of funky shapes. It’s like decorating your walls with sound-absorbing art!
Insulation: The Unsung Hero
If you’re feeling ambitious, consider adding insulation to your walls. It’s a bit more work, but it can make a world of difference. Soundproofing insulation is designed specifically to absorb sound, keeping your recordings clean and crisp. Plus, you’ll get bonus points for being handy!
Setting Up Your Gear: The Heart of the Studio
With your space designed and soundproofed, it’s time to set up your gear. This is where the real fun begins! Whether you’re a tech whiz or a complete newbie, organizing your equipment is crucial for a smooth workflow.
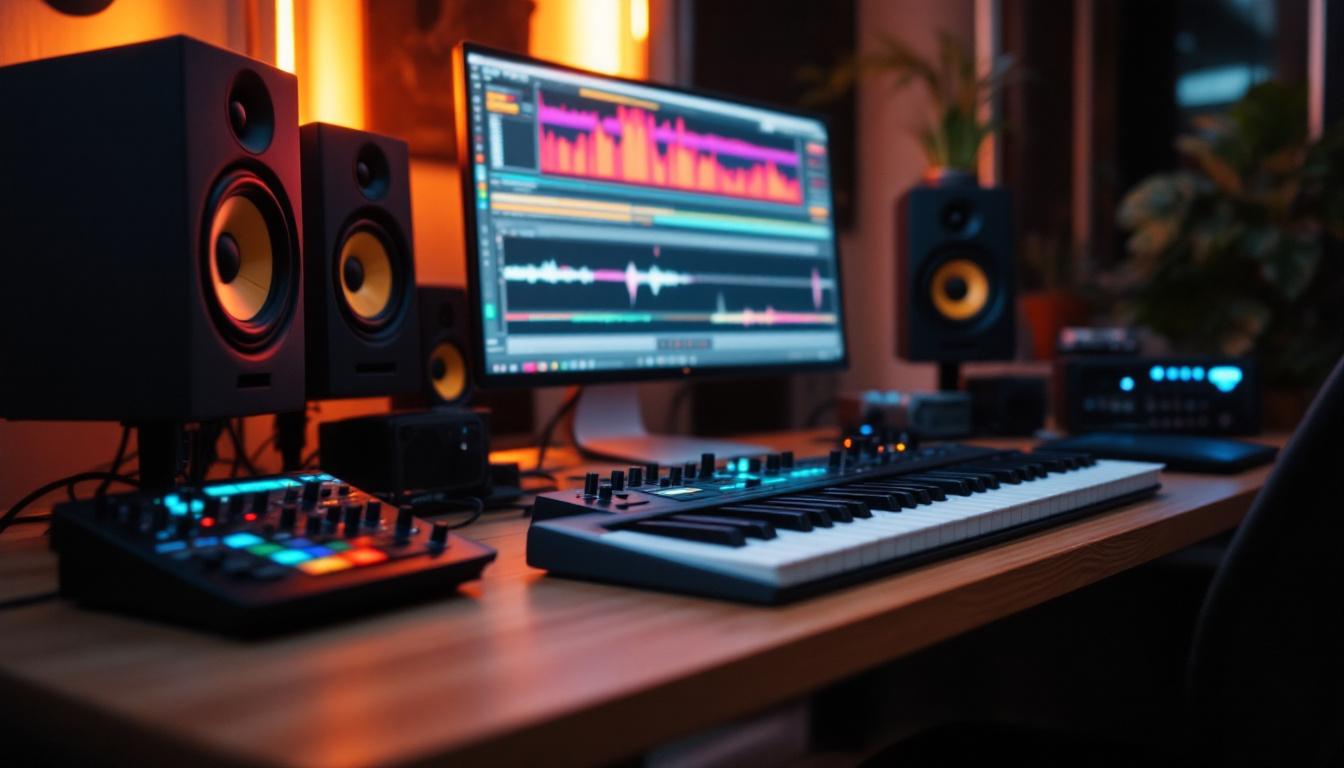
Essential Equipment
First things first, you need the essentials. A good microphone is a must—after all, you want to sound like a star, not a garage band. Invest in a decent audio interface to connect your mic to your computer, and don’t forget headphones! You’ll want to hear every little detail without disturbing the neighbors.
Organizing Your Setup
Once you have your gear, it’s time to set it up. Consider a desk that’s spacious enough to hold your equipment but not so large that it feels like you’re working in a warehouse. Keep cables organized (trust me, future you will thank you) and make sure everything is easily accessible. You don’t want to be fumbling around for a cable when inspiration strikes!
Creating a Workflow: The Art of Productivity
Now that your studio is set up, it’s time to create a workflow that keeps you productive and inspired. This is where the magic happens, and it’s essential to find a routine that works for you.
Setting Goals
Start by setting clear goals for your creative sessions. Are you working on a new song? Recording a podcast episode? Having a plan can help you stay focused and make the most of your time. Break down your projects into manageable tasks, and don’t forget to celebrate your achievements—no matter how small!
Finding Your Rhythm
Everyone has a different rhythm when it comes to creativity. Some people work best in the early morning, while others thrive at night. Experiment with different times of day to see when you’re most productive. And remember, it’s okay to take breaks! Sometimes stepping away for a few minutes can lead to a burst of inspiration.
Adding Personal Touches: Make It Yours
Your studio should reflect your personality and style. This is your creative space, after all! Adding personal touches can make it feel more inviting and inspire you to create.
Decor and Inspiration
Hang up some artwork that inspires you, whether it’s a poster of your favorite band or a framed quote that gets your creative juices flowing. Consider adding plants—yes, they’re not just for Instagram! They can improve air quality and add a touch of life to your space. Just make sure they’re not the type that require constant attention; you’re here to create, not become a full-time gardener!
Creating a Comfort Zone
Don’t forget about comfort! Consider adding a cozy chair or a bean bag for those moments when you need to step away from your desk. A little comfort can go a long way in keeping your creativity flowing. Plus, it’s a great spot for contemplating your next big hit—or just scrolling through social media.
Final Touches: The Devil is in the Details
As you near the finish line of your home studio makeover, it’s time to focus on the final touches. These details can elevate your space from “meh” to “wow!”
Cable Management
Cables can be the bane of any home studio. They tangle, they trip you up, and they can make your space look cluttered. Invest in some cable organizers or even DIY your own solutions. A little organization can make your studio feel more professional and less like a tech jungle.
Testing Your Setup
Before you dive into recording, take some time to test your setup. Make sure everything is working properly, and don’t be afraid to tweak things as needed. It’s all part of the process! And remember, even the pros have to troubleshoot from time to time.
Embracing the Journey: Creating Your Sound
With your home studio complete, it’s time to embrace the journey of creating your sound. Remember, this is a space for exploration and experimentation. Don’t be afraid to try new things, make mistakes, and learn along the way.
Collaborate and Connect
Consider inviting friends or fellow creatives to collaborate. Sometimes, a fresh perspective can lead to amazing results. Plus, it’s a great way to share ideas and inspire each other. Who knows? Your next collaboration could lead to the next big hit!
Stay Inspired
Finally, keep the inspiration flowing. Listen to new music, attend local gigs, or even take a class to learn a new skill. The world is full of inspiration just waiting to be discovered. So, keep your ears open and your creativity flowing!
Conclusion: Your Sonic Sanctuary Awaits
Transforming a spare room into a home studio is no small feat, but with a little creativity and elbow grease, it’s entirely possible. From soundproofing to setting up your gear, every step is a chance to create a space that reflects your unique style and inspires your creativity. So, roll up those sleeves, put on your favorite tunes, and get ready to make some magic in your new sonic sanctuary!
Remember, the journey is just as important as the destination. Embrace the process, have fun, and most importantly, enjoy the music you create. Your sonic sanctuary awaits!