Mixing vocals is like a walk in the park when you have a perfectly treated studio. But what happens when your room sounds more like a tin can or a cave? Well, untreated rooms throw all sorts of curveballs at your vocal mixes, from weird reflections to those pesky standing waves that just won’t quit.
Fear not! This guide will help you throughout the chaos and get your vocals sounding crisp and clear, even if your room looks like it’s never met an acoustic panel.
What Does an Untreated Room Sound Like?
Before getting into fixes, it’s worth understanding the problem. Untreated rooms can be a real headache for vocal mixing because they introduce unwanted sonic artefacts that mess with clarity and tonal balance.

One of the biggest culprits is reflections. When sound waves bounce off bare walls, floors, and ceilings, they create early reflections that arrive at your ears milliseconds after the direct sound. These reflections can cause comb filtering, making vocals sound hollow, boxy, or just plain weird.
Then there are standing waves. These occur when sound waves reflect between parallel surfaces and interfere with each other, creating peaks and dips in certain frequencies. The result? Some notes might boom excessively, while others disappear into thin air. It’s like your room has its own quirky personality, and it’s not always a friendly one.
Early Reflections and Their Impact
Early reflections are the first bounces of sound that reach your ears shortly after the direct sound. In an untreated room, these can cause phase issues that muddy up your vocal recordings and mixes. You might notice a lack of definition or a strange echoey vibe that makes it hard to hear the nuances in the vocal performance.
These reflections can be particularly problematic in the mid-frequency range, where much of the vocal content resides. When these frequencies are compromised, it can lead to a loss of warmth and intimacy in the voice, making it sound distant or detached. This is especially crucial for genres that rely heavily on vocal clarity, such as pop or acoustic music, where every inflection and emotional nuance is vital to the listener’s experience.
Standing Waves: The Invisible Villains
Standing waves tend to lurk in the low-mid frequency range, making some notes sound boomy or muffled. They’re especially problematic in small rooms with parallel walls, where bass frequencies get trapped and bounce back and forth. This uneven frequency response can trick your ears and lead to poor mixing decisions.
Moreover, standing waves can create a false sense of bass response, leading you to believe that your mix has a solid low end when, in fact, it may not translate well to other listening environments. This phenomenon can be particularly frustrating for producers and engineers who strive for a balanced mix, as they may find themselves overcompensating for the perceived bass in their tracks. Over time, this can lead to mixes that sound great in the studio but fall flat when played on different systems, revealing the true nature of the untreated room’s acoustics.
Choosing the Right Microphone and Polar Pattern
When your room isn’t playing nice, picking the right microphone and polar pattern can make a world of difference. The goal is to capture as much of the direct vocal sound as possible while minimising room noise and reflections. Understanding the nuances of different microphones and their polar patterns can significantly enhance the quality of your recordings, transforming a challenging acoustic environment into a more manageable one.

Dynamic Mics: The Unsung Heroes
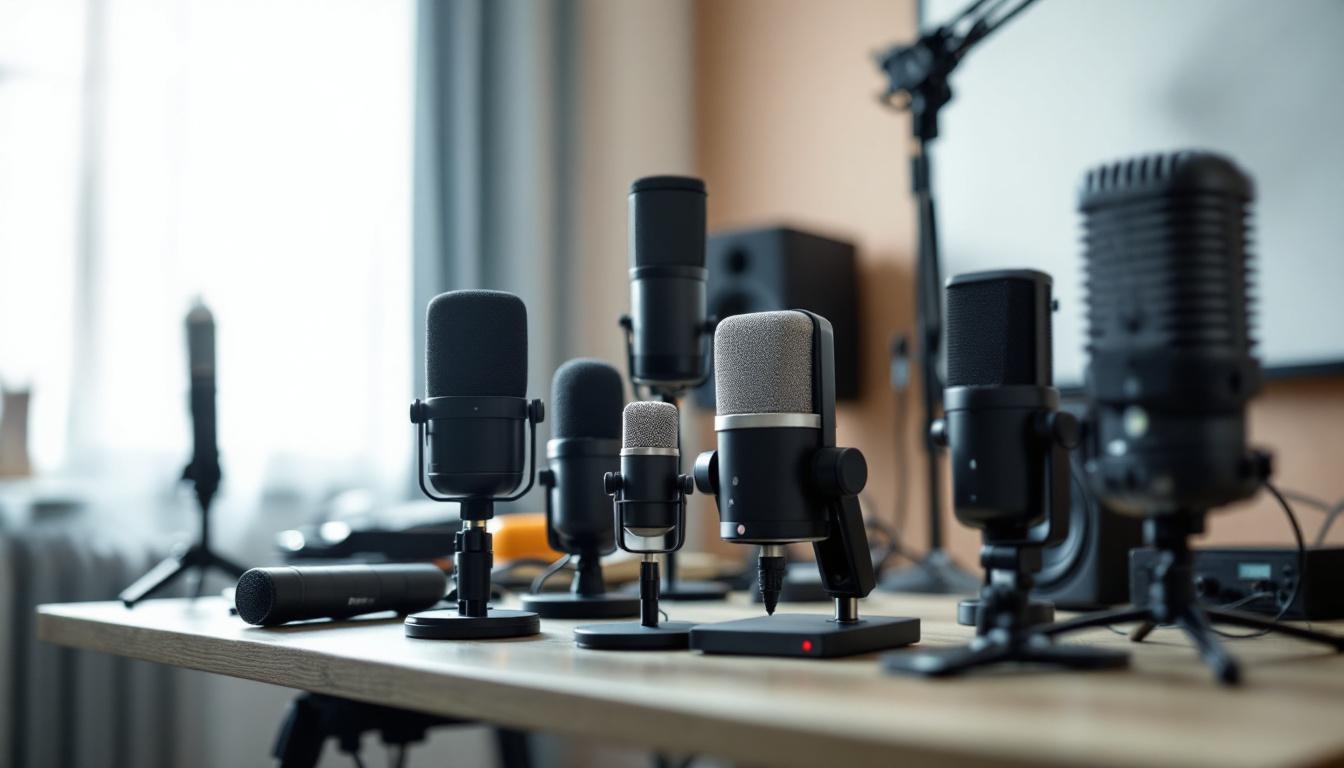
Dynamic microphones, like the classic Shure SM7B or Electro-Voice RE20, are often the go-to choice in untreated rooms. Their less sensitive nature means they pick up fewer room reflections, focusing more on the direct sound. Plus, they handle loud sources well, which is handy if your vocalist likes to belt it out. Additionally, dynamic mics are incredibly durable and can withstand the rigors of live performances, making them a versatile choice for both studio and stage. Their ability to reject off-axis sound makes them ideal for environments where background noise is unavoidable, allowing you to capture a clean vocal track without the interference of unwanted sounds.
Condenser Mics: Use with Caution
Condenser microphones are fantastic for capturing detail and brightness but tend to be more sensitive to room acoustics. If you’re using a condenser mic in an untreated room, consider pairing it with a reflection filter or positioning it carefully to avoid capturing too much room sound. These mics excel in studio settings where the acoustics are controlled, as they can capture the nuances of a vocalist’s performance, including subtle inflections and tonal variations. However, when using a condenser mic, it’s also important to consider the proximity effect; getting too close can enhance low frequencies, which might not be desirable depending on the vocal style. Utilizing pop filters can further enhance the clarity of the recording by reducing plosive sounds that can occur during vocal delivery.
Polar Patterns: Cardioid is King
Most vocal mics come with a cardioid polar pattern, which picks up sound primarily from the front and rejects noise from the sides and rear. This helps reduce unwanted room reflections. Some mics offer switchable patterns, but cardioid is generally the safest bet in a less-than-ideal acoustic environment. However, it’s worth exploring other polar patterns as well, such as supercardioid or hypercardioid, which provide even tighter pickup and can be beneficial in specific situations, like when recording in close quarters or when multiple sound sources are present. Understanding how to manipulate the distance and angle of the microphone relative to the sound source can also enhance the effectiveness of the chosen polar pattern, allowing for a more tailored recording experience that suits the unique characteristics of the vocalist and the environment.
Placement Techniques: Getting Up Close and Personal
Mic placement is a powerful tool for minimising room issues. The closer the mic is to the vocalist, the more direct sound it captures relative to reflections.
Close Micing: The Closer, The Better
Positioning the mic just a few inches from the vocalist’s mouth boosts the direct signal and reduces the room’s influence. This technique also emphasises intimacy and presence, making the vocal sit nicely in the mix. Just watch out for plosives—those pesky pops from ‘p’ and ‘b’ sounds—which can be tamed with a pop shield.
Angle and Distance Matter
Experimenting with the mic angle can help reduce sibilance and harshness. Slightly off-axis placement (angling the mic away from the direct line of the mouth) can smooth out sharp consonants and reduce breath noise. Also, moving the mic slightly further away—around 6 to 12 inches—can introduce a bit more room sound if desired, but in untreated rooms, it’s best to keep it close.
Reflection Filters and Portable Vocal Booths
If you can’t treat your entire room, portable solutions are a great compromise. Reflection filters and portable vocal booths help absorb and diffuse sound around the mic, reducing unwanted reflections.

Reflection Filters: Small but Mighty
Reflection filters are curved panels lined with acoustic foam that attach behind the microphone. They catch and absorb sound waves that would otherwise bounce off walls and back into the mic. While they won’t turn your room into Abbey Road Studios, they do a solid job of cleaning up the vocal sound.
Portable Vocal Booths: Your Mobile Sanctuary
For those who want to take it a step further, portable vocal booths provide a more enclosed environment. These booths surround the vocalist and mic with acoustic panels, creating a mini treated space. They’re especially useful for home studios where permanent room treatment isn’t an option.
Post-Processing: The Final Frontier
Even with the best mic choices and placement, some room issues will sneak into your recordings. That’s where post-processing comes in to save the day.
EQ to the Rescue
Using equalisation to tame problematic frequencies caused by room modes is essential. Identify the boomy or boxy frequencies by sweeping a narrow EQ band and reducing those peaks. This helps clean up muddiness and brings clarity to the vocal.
Gating and Dynamic Treatment
Gates can help reduce background noise and room ambience during silent parts, making your vocal tracks cleaner. Additionally, gentle compression can even out the vocal performance, but be careful not to exaggerate room noise or breath sounds.
De-essing and Other Tools
De-essers tame harsh sibilance, which can be exaggerated by untreated room reflections. Using these tools judiciously ensures the vocal remains natural and pleasant to listen to.
When to Accept Limitations and When to Invest in Treatment
At some point, every home engineer faces the question: is it time to invest in acoustic treatment or just live with the quirks of the room?
If you’re recording and mixing regularly, spending on basic acoustic treatment like bass traps, broadband absorbers, and diffusers can be a game-changer. Even a few strategically placed panels can dramatically improve your room’s sound and make mixing vocals much easier.
However, if you’re just dabbling or on a tight budget, using smart mic choices, placement, reflection filters, and post-processing can get you surprisingly good results without breaking the bank.
Remember, the goal is to make the best of what you have. Sometimes, embracing the character of your room and working around its limitations can lead to unique and creative vocal sounds that stand out.
Final Thoughts
Mixing vocals in untreated rooms is a bit like trying to have a serious conversation in a noisy café—it’s challenging but not impossible. Understanding the problems your room creates, choosing the right gear, getting close to the mic, using reflection filters, and applying smart post-processing techniques can all help you tame the chaos.
While nothing beats a well-treated studio, these tips ensure your vocals won’t sound like they were recorded inside a cardboard box. So, roll up your sleeves, experiment, and remember: every great vocal mix starts with a good ear and a bit of patience.