When it comes to music production and recording, the word “reverb” can spark a little anxiety.
Will adding acoustic treatment suck all the life out of your room? Will your tracks sound like they were recorded inside a padded cell?
The fear of over-deadening a space is real, but it’s also a bit of a myth. The truth is, reverb isn’t your enemy; it’s a vital ingredient in creating a vibrant, engaging sound. Now, let’s see how you can control ambience without killing the vibe, embracing reverb as a tool rather than a foe.
Understanding Reverb: The Good, The Bad, and The Ugly
What Is Reverb, Really?
Reverb is simply the collection of all the reflections of sound waves bouncing around a room before they fade away. Think of it as the natural echo that gives a space its character. When you clap your hands in a cathedral, the lingering sound is reverb. In a tiny closet, it’s almost nonexistent.

Reverb adds depth and warmth to recordings, making them feel more “alive” and three-dimensional. But not all reverb is created equal. The type of reverb you experience can greatly depend on the materials in a space. Hard surfaces like tile or concrete reflect sound more sharply, while softer materials like carpets or curtains absorb sound, creating a more subdued reverb. This interplay of materials is quite important in sound design, as it can dramatically change the mood and feel of a recording or live performance.
Good Reverb vs. Bad Reverb
Good reverb is controlled and musical. It’s the kind that gently decays, adding richness without clouding clarity. Bad reverb, on the other hand, is usually uncontrolled – think flutter echoes or slap-back reflections that create a distracting, metallic ringing. These unwanted reflections can make your recordings sound amateurish or muddy.
Flutter echo is that rapid, repetitive echo you sometimes hear in untreated rooms with parallel walls. It’s like the sound is bouncing back and forth, creating a weird “ping-pong” effect that can drive you nuts. In contrast, a well-designed space with a mix of surfaces can help to diffuse sound waves evenly, providing a more pleasant listening experience. This is why many professional studios invest in acoustic treatment; they want to harness the good reverb while minimizing the bad.
So, the goal isn’t to eliminate all reverb, but to tame the unruly parts while preserving the natural ambiance that makes your sound vibrant. Understanding how to manipulate reverb through both hardware and software tools is essential for any sound engineer or musician. With the right techniques, you can create lush soundscapes that transport listeners to another world, enhancing the emotional impact of your music or audio production.
Why Fear of Dead Rooms Is Overblown
Many creators worry that acoustic treatment will turn their creative sanctuary into a lifeless, sterile box. This fear is understandable; no one wants their music to sound like it was recorded in a morgue. But here’s the secret: acoustic treatment isn’t about killing all reflections; it’s about balance.

Think of your room like a cocktail. Too much of one ingredient, and the whole thing is ruined. But the right mix? Magic. You want to reduce the harsh, distracting reflections while keeping enough natural ambience to maintain a sense of space and life.
In fact, a completely dead room can be just as problematic as a wildly reflective one. Without any natural reverberation, recordings can sound flat, unnatural, and dull. The key is to find that sweet spot where your room sounds controlled but still inviting.
Acoustic treatment can actually enhance your creative process. When you have a well-balanced room, you can hear your music more accurately, allowing you to make better decisions during mixing and mastering. This clarity can inspire new ideas and help you refine your sound. Imagine being able to hear every nuance of your instruments and vocals, leading to a richer, more dynamic final product. It’s like having a high-definition view of your musical landscape, where every detail is crisp and vivid.
Moreover, the psychological impact of a well-treated room shouldn’t be overlooked. A space that sounds good can significantly boost your confidence as a creator. When you know your environment is optimized for sound, you can focus more on the music and less on the technicalities of what you’re hearing. This freedom can lead to a more enjoyable and productive creative session, fostering an atmosphere where inspiration flows freely and ideas come to life without the distraction of unwanted acoustic anomalies.
Placement Tips: Taming Reflections Without Deadening Your Space
Identify Problem Areas First
Before you start slapping up foam panels everywhere, take a moment to listen. Clap your hands or play a test tone and listen for flutter echoes or ringing. Walk around the room and note where reflections are strongest—usually, these are parallel walls, corners, and hard surfaces.
Once you know where the trouble spots are, you can target your treatment more effectively, rather than over-treating the entire room. Consider using a handheld sound level meter or a smartphone app to measure the sound levels in different areas. This can give you a more quantifiable understanding of where the problematic reflections are occurring. Additionally, take into account the furniture layout; large pieces can absorb sound, while glass or metal surfaces can exacerbate reflections. By mapping out both sound behavior and furniture placement, you can create a more comprehensive strategy for your acoustic treatment.
Use a Hybrid Approach: Absorption + Reflection
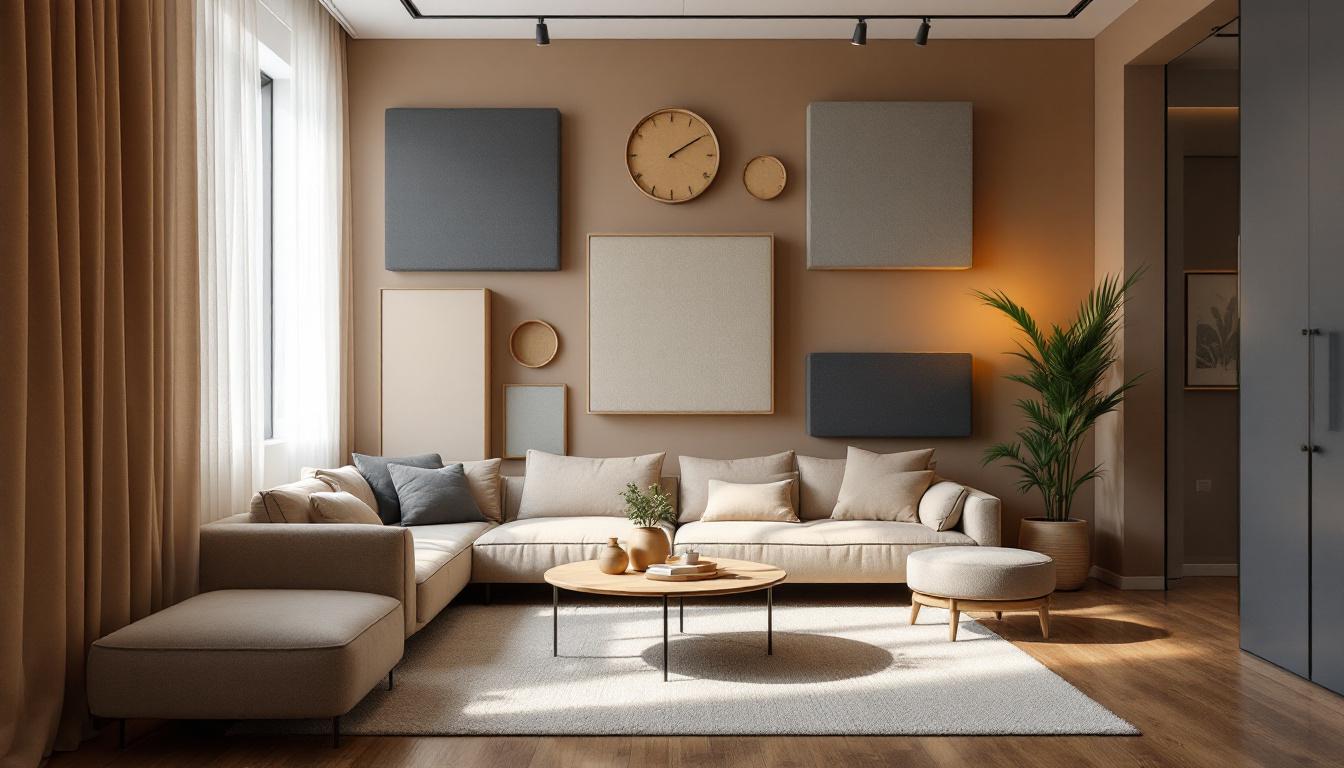
One of the best ways to maintain vibe is to mix absorptive materials with reflective surfaces. Absorptive panels (like acoustic foam or fiberglass) help tame harsh reflections and flutter echoes. But reflective surfaces, such as wooden panels or even strategically placed furniture, add back some life and brightness to the sound.
For example, placing absorptive panels at first reflection points (where sound hits your ears first) can clean up the direct sound, while leaving other areas reflective maintains a natural ambiance. This hybrid setup prevents the room from becoming too dead or too live. You might also consider incorporating diffusers—these can scatter sound waves in various directions, further enhancing the room’s acoustics without overly dampening the sound. Think of diffusers as a way to create a more three-dimensional sound field, enriching the listening experience while still managing reflections effectively.
Don’t Forget Bass Traps
Low-frequency buildup can muddy your mix and make your room sound boomy. Bass traps placed in corners absorb these problematic frequencies, tightening up your sound without affecting the overall vibe. They’re essential for any serious acoustic treatment plan. When selecting bass traps, consider their density and thickness; thicker traps will generally absorb lower frequencies more effectively. You can also experiment with placement—try positioning them not just in corners but also along walls where low frequencies tend to accumulate. Additionally, consider using corner bass traps that extend from floor to ceiling for maximum absorption, as this can significantly improve the overall clarity of your sound.
Creative Acoustic Treatment: Beyond the Basics
Use Diffusers to Scatter Sound
Diffusers are acoustic elements designed to scatter sound waves rather than absorb them. This scattering breaks up reflections and spreads sound energy evenly throughout the room, reducing harsh echoes while preserving a sense of space.
Diffusers can be made from wood, plastic, or even DIY materials like unevenly stacked bookshelves. They add texture and character to your room’s sound, making it feel more natural and less “processed.” Additionally, the design of diffusers can vary widely, from simple geometric shapes to intricate patterns that not only serve an acoustic purpose but also enhance the visual appeal of your space. For instance, a well-placed wooden diffuser can act as a stunning focal point in a room, drawing the eye while simultaneously improving sound quality.
Incorporate Reflective Surfaces Strategically
Hard surfaces like wood or glass can be your friends if used wisely. For instance, a wooden desk or bookshelf behind your recording position can add a pleasing warmth and brightness. Just avoid large, flat, parallel surfaces directly opposite each other, which can cause flutter echo.
Incorporating reflective surfaces can also involve using angled mirrors or decorative glass panels to create a more dynamic acoustic environment. These elements can help bounce sound waves in a way that enhances clarity and detail, particularly in vocal recordings. Moreover, consider the finish of these surfaces; a matte finish may diffuse sound differently than a glossy one, so experimenting with various textures can yield interesting results.
Experiment with Room Layout
Sometimes, simply moving your desk, speakers, or microphone can make a huge difference. Avoid placing your setup right against a wall or in a corner. Instead, try positioning yourself slightly off-center to reduce standing waves and reflections.
Remember, every room is unique, so don’t be afraid to experiment until you find what sounds best. Consider the height of your speakers and the positioning of your furniture; even small adjustments can lead to significant improvements in sound quality. Additionally, using rugs or carpets can help dampen unwanted reflections from hard floors, further enhancing the acoustic profile of your space. By taking the time to analyze and adjust your room layout, you can create an environment that not only sounds great but also feels comfortable and inspiring for your creative endeavors.
Final Thoughts: Embrace Reverb, Don’t Fear It
Reverb is an essential part of sound—it gives recordings depth, warmth, and personality. The goal of acoustic treatment isn’t to create a dead, lifeless space but to control and sculpt the reverb so it enhances your sound rather than detracts from it.
By understanding the difference between good and bad reverb, using a balanced approach to treatment, and getting creative with your room’s layout and materials, you can tame reflections without killing the vibe. Your recordings will thank you, and so will your ears.
So, next time you’re tempted to plaster every wall with foam, take a breath. Remember: reverb is not your enemy. It’s a powerful ally waiting to be harnessed.