If mixing music feels a bit like trying to find fairground gold with a metal detector, there is good news. A surprisingly small set of changes to speaker placement, ear height and room symmetry can transform mixes so they make sense across headphones, car stereos and questionable Bluetooth speakers. The following guide explains the rules of the room, the triangle, and a handful of quick tests to find that elusive sweet spot where everything lines up. No ritual sacrifices required, just a tape measure and some patience.
The triangle rule: geometry that actually helps
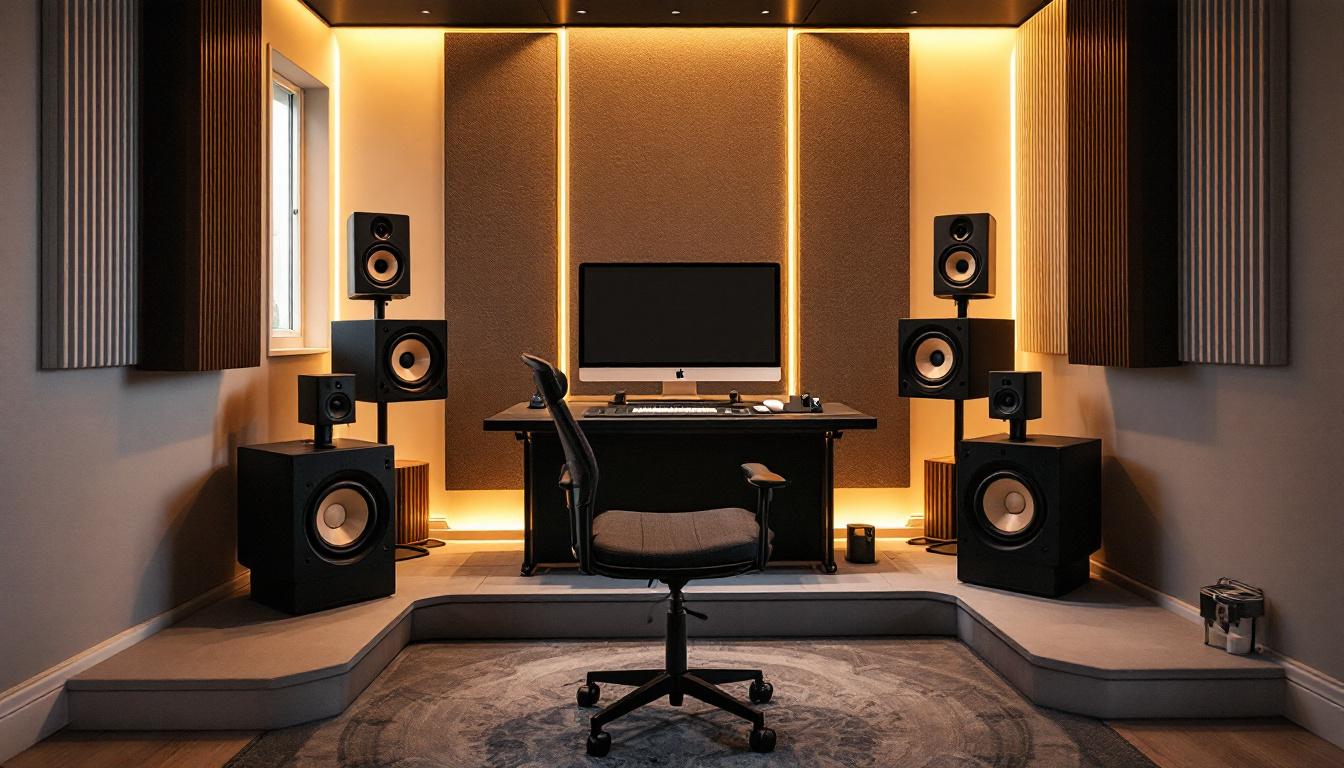
There is a simple, almost ancient rule that works far better than guessing. The speakers and the engineer should form an equilateral triangle. That means the distance from left speaker to right speaker equals the distance from each speaker to the listening position.
This is not a suggestion. If the left-to-right separation is 1.2 metres, the listener should sit 1.2 metres from each speaker. The speakers will be angled so their fronts point directly at the ears, creating a triangle that balances stereo image and frequency response. Too narrow and the centre collapses. Too wide and the head becomes a jarring, disjointed navigator.
Why the triangle works
Put simply, the equilateral setup ensures that sound from both speakers arrives at the ears with similar timing and intensity. When the arrival times and levels match, the brain can accurately place instruments in the stereo field. That means panning decisions work as intended and the centre channel stays crisp rather than smeared.
Height matters: aligning speakers with ear level
Speaker height is often overlooked. For accurate imaging, the tweeters or the main driver should be roughly at ear height when seated. This keeps the high frequency energy aimed straight at the ears rather than bouncing off the walls or ceiling first.
Put a chair where the listener will usually sit, then stand up and mark the ear height. Adjust monitor stands so the tweeter is at that mark. If studio furniture or room constraints get in the way, aim for as close as possible. Small errors are tolerable, but the closer the match, the clearer the top end and stereo placement.
Vertical tilt and toe-in
Monitors can often be tilted slightly to aim the sweet spot more precisely. Toe-in refers to angling the speakers towards the listener so the fronts point to the ears. A modest toe-in sharpens the stereo image; extreme toe-in narrows it too much. Try angling until a centred vocal sits perfectly in the middle without seeming hidden behind the speakers.
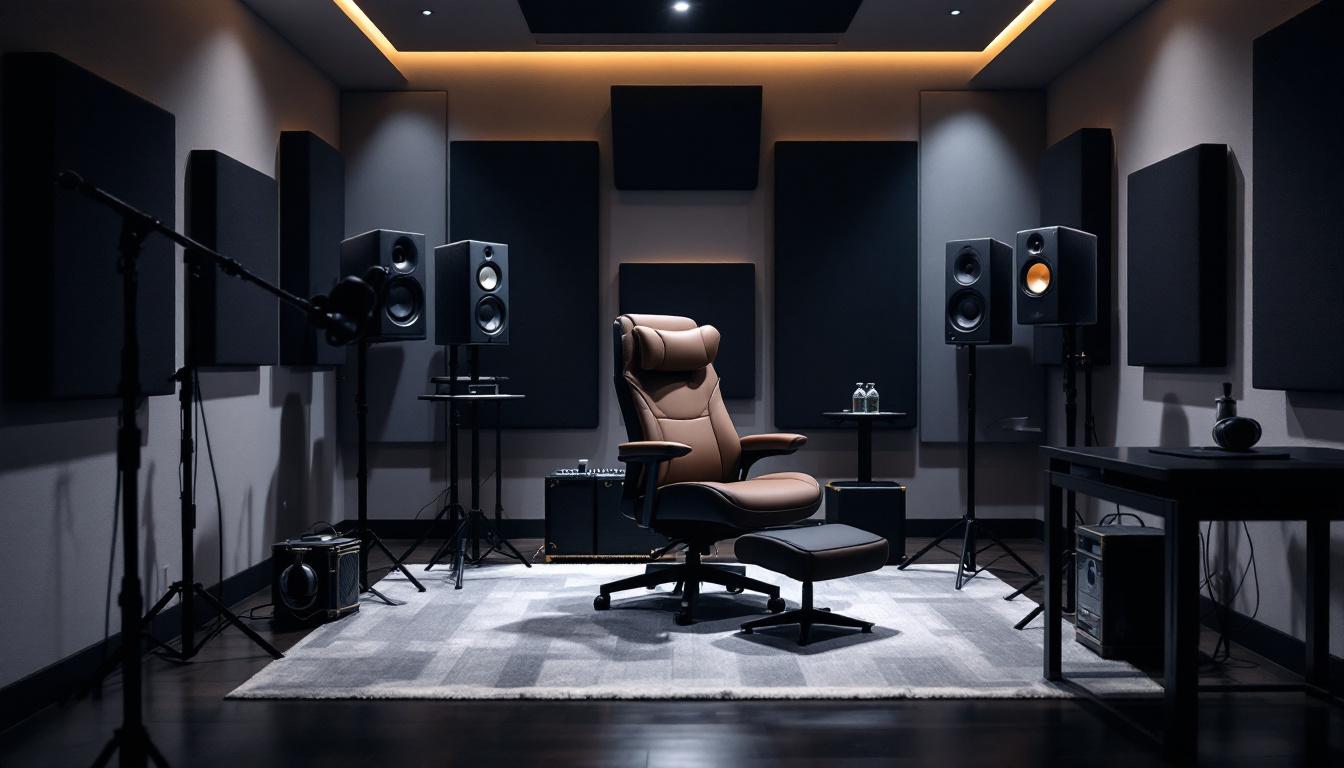
Reflections: the invisible troublemakers
Reflected sound is the sneaky villain in mixing rooms. Early reflections from side walls, floor and ceiling reach the ears milliseconds after the direct sound and smear clarity and imaging. Tackling reflections does not demand a full acoustic renovation. Some smart placement and a few well chosen panels can yield dramatic improvements.
First reflection points
Find the first reflection points on the side walls and ceiling by using the mirror trick. Sit in the listening position and have someone move a mirror along the wall. When the speaker is visible in the mirror from the listening spot, that is a first reflection point. Treat those spots with absorptive panels or a combination of absorbent and diffusive materials.
Floor reflections and the rug solution
The floor reflects sound upwards and can blur low mid clarity. A dense rug between the speakers and the listening position often makes a big improvement. It is a cheap and reversible measure that reduces comb filtering from floor reflections without needing permanent treatment.
Symmetry: balance the room, balance the sound
Asymmetrical rooms are common and forgiving in many listening tasks, but symmetry across the listening axis is critical for consistent imaging. If one side has a bookshelf and the other side a bare wall, the stereo image will tilt toward the more absorptive side. Aim for mirror-like balance where possible.
Practical symmetry fixes
If the room layout cannot be changed, focus on matching acoustic treatment on both sides: paired absorbers, similar furniture mass or matched shelving. Even visual cues matter. Aesthetically matching elements helps the brain process the stereo field more consistently and keeps mixes from leaning left or right unexpectedly.
Finding the sweet spot: simple tests to use right now
One of the best things about this work is how easy it is to experiment. The following tests require nothing more complicated than pink noise, a tape measure and some careful listening. These tests help confirm whether the triangle, height and reflection treatments are doing their job.
Pink noise and the head move test
Play pink noise through both speakers at a moderate level. Sit in the supposed sweet spot and slowly move the head left and right. If the noise seems louder in one ear at any point, the speaker angles or distances need adjustment. When the listener is correctly placed, moving the head slightly should produce a smooth change in level but not a sudden jump to one side.
Try tilting the head up and down too. If the top end gets dramatically brighter when looking up, the tweeter is probably above ear level. Reposition accordingly.
Mono test for centre localisation
Play a mono track and listen to the phantom centre. The sound should appear dead centre of the head with no sense of leaning. If the centre shifts toward a speaker, tweak monitor placement or check that each monitor is the same distance from the listener. Small discrepancies in angle or distance show up immediately on a mono test.
Hand clap and null test
A quick way to test symmetry is to clap once in the listening position while recording with a small microphone, then play back the recording from the speakers and listen for any strange cancellations. Alternatively, record a clap from each speaker individually and compare. If the clap disappears or comb filtering is severe when both are played together, something in the alignment or room acoustic is causing destructive interference.
Small tweaks that make massive differences
Minor adjustments often yield greater improvements than drastic changes. Moving a speaker ten centimetres or rotating it by a few degrees can clear up muddiness and tighten the bass. The key is to take notes and make one change at a time so the effect of each tweak is obvious.
Staggering distances for bass control
Bass interacts with room modes in complex ways. Moving the entire listening position a little forward or back relative to the room can move the ears out of a null or peak in the bass response. Rather than swapping expensive speakers, first try shifting the chair in increments of 10 to 20 centimetres and re-checking the low end.
Use a level and measurement tools, but trust the ears
A sound level meter, a measuring tape and simple room measurement software can confirm geometry and reveal obvious low frequency problems. However, measurement tools are assistants rather than masters. Trained ears should make the final call. If a measured response looks ugly but the mix translates well, the measurements are doing their job as a guide rather than a rule book.
Setting up for long sessions: ergonomics and comfort
Mixing is more marathon than sprint. The listening position should be comfortable, with the screen at an easy reading distance and the chair offering decent back support. Fatigue makes even a great setup sound poor after a few hours, so plan for ergonomics as part of the acoustic setup.
Lighting, desk position and cable management
Bright glare on a screen or a tangle of cables underfoot distracts from listening. Keep the desk height appropriate so arms rest naturally on the work surface while operating controllers or keyboards. Soft, dimmable lighting helps ears stay fresh by reducing eye strain and keeping the focus on sound rather than visual discomfort.
Common mistakes to avoid
Many studio headaches come from repeated, fixable mistakes. The following are quick to check and quick to fix.
Putting monitors directly against the wall
Monitors flush to the wall will boost low frequencies, often unnaturally. If backing the monitors into a corner is unavoidable, experiment with small stands and bass traps to control the resulting build up. Even a small gap between the speaker rear and the wall helps enormously.
Ignoring the listening height
Sitting at the height of a low stool or a too-high chair will misalign ears and drivers. Adjust the chair or stands until the tweeters point at the ears. This simple fix is one of the fastest ways to sharpen imaging.
Relying only on untreated rooms
Complete absence of treatment creates wild room modes and reflections. It is tempting to rely solely on headphones, but a treated room gives a much better reference for real-world playback. At a minimum, treat the first reflection points and the listening area floor.
Putting it all together: a quick setup checklist
Before starting a session, run through this short checklist to confirm the basics are in place and the sweet spot is likely to hold up through a long mix.
Essential checklist
– Measure speaker separation and confirm an equilateral triangle with the listening position. – Set tweeters at ear height and toe-in to point directly at the ears. – Treat first reflection points on walls and ceiling and add a rug for floor reflections. – Aim for symmetry in furnishings and treatment left to right. – Run pink noise, mono and clap tests to confirm imaging and phase behaviour. – Adjust listening position forward or back to smooth bass response. – Make one change at a time, take notes, and listen for at least 15 minutes before deciding.
Final thought: small changes, big payoffs
Perfecing the listening position is often cheaper and faster than buying new monitors. A few centimetres here, a panel there and a well measured triangle will give mixes clearer imaging, truer bass and far fewer surprises when played elsewhere. Listening environments vary, but the principles remain the same. Geometry plus controlled reflections equals clarity, and clarity makes good mixes into great ones.
Now the desk can sit where it needs to, the ears can be placed in the right spot, and the music can finally start sounding like it was meant to sound. Happy tweaking.