For digital nomads, gigging musicians and anybody who records in Airbnb living rooms, shared apartments or tiny hotel rooms, sound is the stubborn enemy that will not book another flight and carry its own baggage. The good news is that treating a room for recording no longer requires a van full of foam or permission from a landlord. This guide covers portable acoustic treatments, DIY hacks and smart gear that fold, collapse or drape into being a surprisingly effective temporary studio. Expect useful gear lists, practical build tips and a cheeky case study about turning an Airbnb into a recording suite.
Why portable acoustic treatment matters
Recording on the move is not just a convenience thing. Room acoustics shape everything from vocal presence to low-end clarity. A bright, reflective room will make voices sound thin and brittle. A boomy, untreated corner will turn a simple bass line into a swampy mess. For podcasters, streamers and session players being able to control reflections and bass can be the difference between a release that sounds professional and one that sounds like it was recorded inside a drainpipe.
Mobility matters because many modern creators have to set up quickly and take down even quicker. Nobody wants to leave acoustic panels nailed to a landlord’s walls, nor lug around a heavy, permanent trap. Portable solutions let musicians and creators get consistent results wherever they go while staying flexible—and within the rules of short-term lets and shared spaces.
Portable panels: the backbone of a mobile setup
Portable panels are essentially acoustic absorbers that can be moved and positioned wherever needed. They come in foam, fibreglass, recycled PET and other materials. The trick is to balance weight, effectiveness and ease of transport.
Look for panels that are thin and lightweight but with a decent thickness for mid-high frequency control—around 25mm to 50mm is useful for reflections around a microphone. Panels that clip into a frame or fold flat like a camping mat are perfect for nomads. Carrying a set of four to six panels will provide a reliable starting point for small vocal booths or reflection control around a guitar amp.
Key features to prioritise
Pick panels with an outer fabric sleeve or finished edges so they look tidy in an Airbnb. Panels with attached grommets or Velcro strips make placement quicker. Panels that stack or nest into a slim carry bag save space. For those who like to DIY, cut-to-size rigid fibreglass or compressed panels can be wrapped with breathable fabric and fitted into a collapsible frame.
Folding bass traps: small when stored, big on low end
Low-frequency energy is the hardest to control and the most awkward to transport. Bass traps are typically thick and heavy, but folding bass traps bridge that gap by collapsing into a compact shape. They are built with hinged panels or fabric gussets that expand into a full trap when set up.
Place bass traps in corners—especially where walls meet the floor and ceiling—to tame boomy frequencies. For a portable kit, two folding traps for the front corners behind a vocalist and one or two for rear corners will make a dramatic difference. When folded, these should fit into a modest bag or suitcase, so they are genuinely portable for gigs and travel recordings.
DIY folding trap idea
Create a simple folding trap using rock wool slabs sandwiched between plywood panels connected with piano hinge. Line the outer faces with breathable fabric and add corner brackets for stability. It looks slightly artisanal, but it will eat bass like a hungry monster and fold flat for transport.
Reflection filters and mic shields: tiny things, huge impact
Reflection filters clip behind a microphone and create a mini-aural tent. They are ideal for vocalists and podcasters who need a quick solution without rearranging rooms. While not a substitute for a treated space, these filters can drastically reduce early reflections and room colouration directly at the source.
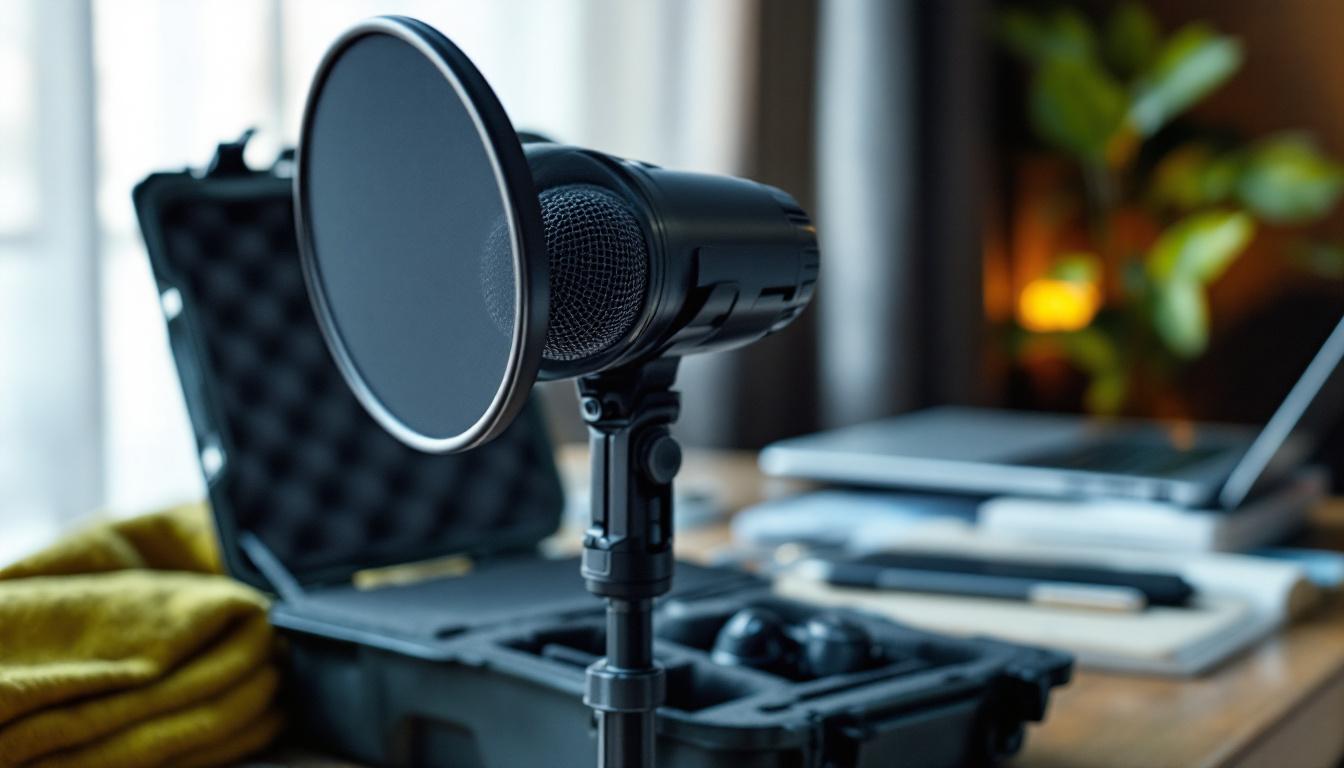
Choose reflection filters with a well-damped core material and a sturdy mount. Some models include extendable arms or quick-release fittings so they can be used on handheld mics for gigs or attached to a desktop stand for interviews. They fold or disassemble for travel and double as a handy windscreen when recording outdoors in a pinch.
Placement tips for best results
Put the filter as close to the mic as comfortable so the mic ‘sees’ the local absorption first. Angle it so that it faces the strongest reflective surface—often a nearby window or bare wall. For interviews, use two reflection filters back-to-back to isolate each speaker in a shared room.
Creative hacks: heavy blankets, collapsible frames and more
Practical hacks often win where fancy gear cannot fit the budget or suitcase. Heavy moving blankets, dense curtains and quilts are surprisingly effective at taming high and mid frequencies. Hang a blanket behind the vocalist or drape it over a clothing rail to create a quick vocal alcove. Using two layers of different materials can broaden the absorption band and reduce flutter echo in narrow rooms.
Collapsible frames can be built from PVC pipe and lightweight connectors. Combine a frame with acoustic mineral wool or thick duvet fill covered in breathable fabric and the result is a portable gobos system that can be erected in minutes. These frames knock down flat and pack into a travel carry bag with a bit of bubble wrap for protection.
Practical fabric choices
Breathable, open-weave fabric is preferable so sound reaches the absorber. Avoid plastic sheeting and tightly woven upholstery fabrics that reflect sound. For stealth in a short-term let, choose neutral colours to blend with room décor and secure panels with Command hooks or free-standing frames to avoid wall damage.
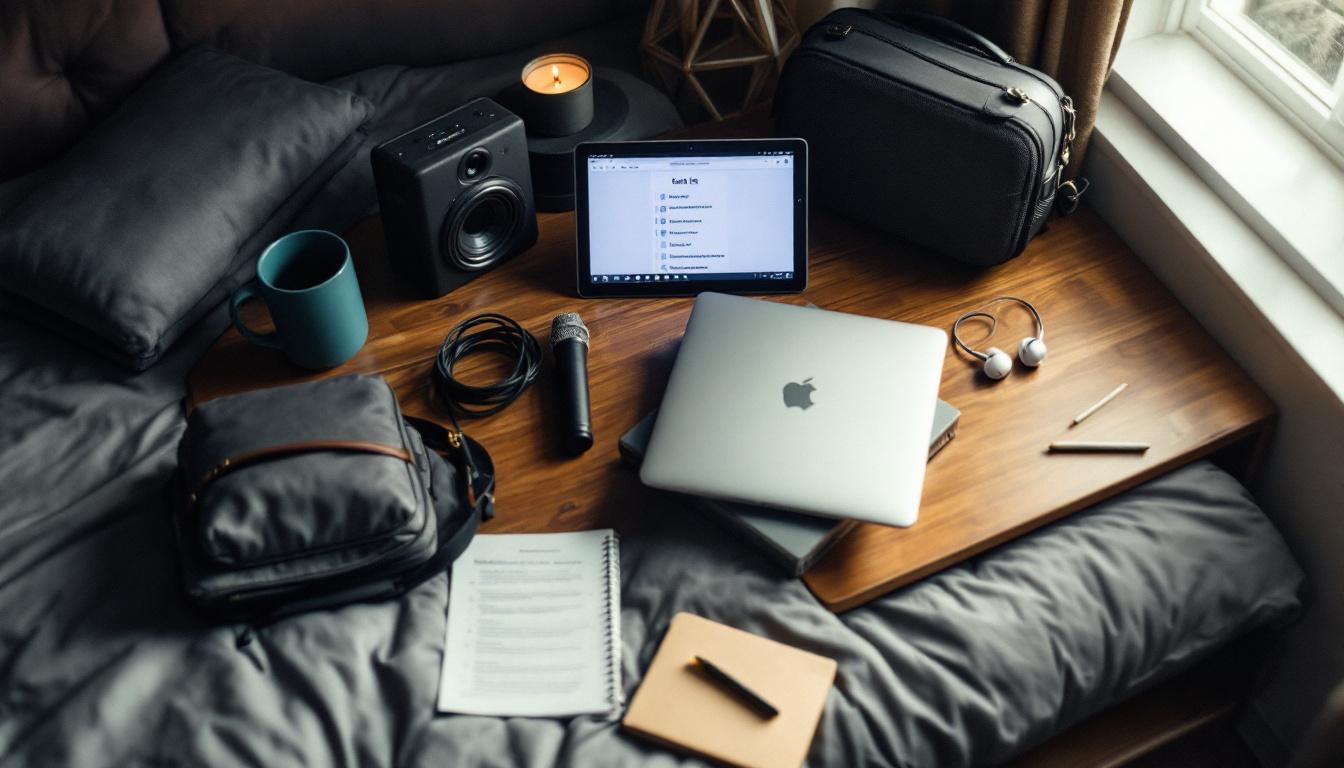
Case study: turning an Airbnb into a temporary studio
An Airbnb in a city centre offers convenience but rarely gives the acoustic cooperation of a dedicated studio. The following checklist turns an ordinary living room into a reliable recording space in under an hour, using portable treatments and common items.
1) Choose the corner. Set the recording area away from windows and directly facing the room’s softest surfaces. Position the performer with a sofa or bed behind them for natural absorption. 2) Deploy reflection panels. Clip or stand two portable panels behind and to the sides of the mic to reduce first reflections. 3) Add a reflection filter. Mount it on the mic stand and position it for immediate source control. 4) Place a folding bass trap in the nearest corner to tame low-frequency build-up. 5) Hang a heavy blanket across a clothing rail behind the performer for additional absorption and a cleaner close-mic image. 6) Use rugs to cover hard floors and reduce slapback.
Recording checklist and time-saving tips
Carry a multi-tool, a roll of gaffer tape, a set of Command hooks and a couple of extension leads. Test with a short soundcheck and a simple sweep to identify resonances. If the room has a prominent peak, move the position slightly forward or back to find a less resonant spot. When space is tight, aim to control early reflections and local bass—getting those two right will lift the whole recording.
Gear list for the travelling creator
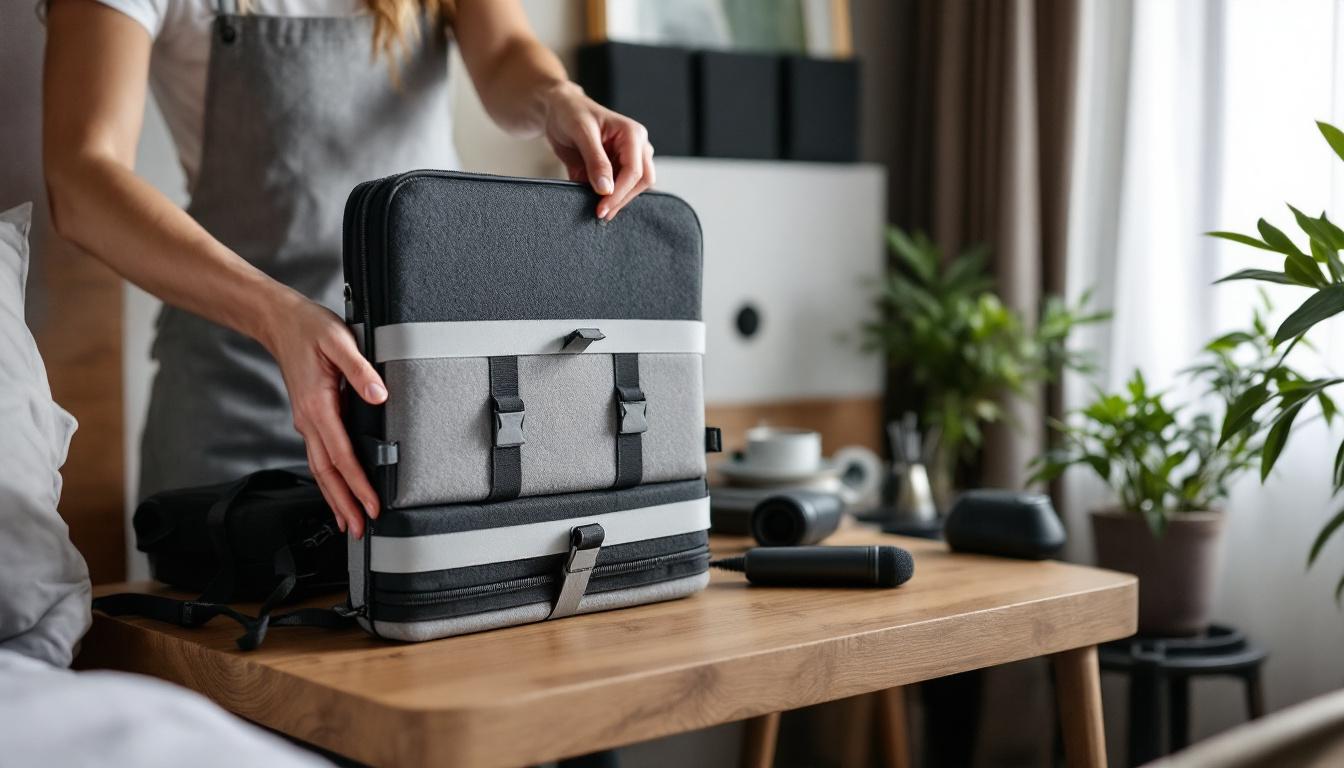
The following compact kit covers the essentials and keeps luggage lean while delivering studio-grade improvements to most temporary spaces.
– 4 to 6 portable absorption panels (25–50mm thickness); fabric-covered and stackable. – 2 folding bass traps for corners. – A mid-size reflection filter for mic isolation. – Collapsible frame and heavy blanket for a quick vocal alcove. – Rugs or a roll-up floor mat to reduce floor reflections. – A sturdy mic stand, shock mount and pop shield. – A small audio interface with good preamps and a pair of closed-back headphones. – A carry bag that takes all components and protects them from airline handling.
Budget vs premium choices
For those on a budget, heavy blankets and DIY frames combined with a reflection filter can out-perform a cheap foam-only solution. At the premium end, finished portable panels and folding bass traps made from high-density materials give a better low-end response and look more professional on camera. Weigh priorities: if streaming video is part of the output, aesthetics and noise control become equally important.
Placement strategies for different recording scenarios
Different tasks require different setups. For a solo vocal session, aim for a tight enclosure around the mic with panels at 45 degrees to reduce direct reflections. For guitar recording, place absorbers behind and to the side of the instrument and use a small reflection panel between amp and mic if necessary. For podcast interviews in shared spaces, create a semi-private booth using two panels and a blanket on a collapsible frame to keep both speakers sounding consistent.
When recording drums or full bands, portable treatment can only do so much. Focus on controlling the drum kit’s immediate surroundings and place bass traps in the room’s corners between takes. Close-miking combined with strategic absorption will yield far more usable tracks than relying on distant room mics in an untreated space.
Quick acoustic tests to run
Clap test: clap once and listen for flutter echo and long decay. Sweep test: play a low-to-high sine sweep through headphones and listen for particularly resonant frequencies. These quick diagnostics help decide whether more bass control, reflection panels or simple repositioning are needed before recording.
Packing tips and airline considerations
Panels and traps can be shipped as gear or carried on if size allows. Pack fragile corners with clothing or bubble wrap and use a hard-sided case for reflection filters and stands. Remember that airlines vary in carry-on size, so choose collapsible stands and modular panels that meet typical carry-on limits. Shipping ahead to a gig is a valid option if travelling internationally and equipment size is non-negotiable.
Security and storage in short-term lets
Always check the venue’s policy on gear and be mindful of fire regulations. Store heavier items flat under a bed when not in use. For peace of mind, photograph the room before setup and after teardown to avoid disputes. Keep a compact toolbox and spare cables in the kit for quick fixes.
Final thoughts: flexibility beats perfection
It is tempting to chase the ideal acoustics, but in practice the most successful travelling studios are those that prioritise routined setup, quick diagnostics and modular gear. A few well-chosen panels, a pair of folding traps and a reflection filter will transform most rooms and give performances and recordings a consistent, professional sound.
For creators who need to move fast and sound great, the golden rule is this: control the first reflections and the corners, and the rest will fall into place. Adaptability, clever DIY and a modest investment in portable treatment make it possible to treat rooms that were never meant to be studios and produce recordings that stand up beside studio-produced tracks.